
This $14 DIY Made a Crystal Chandelier Look *Even More* Luxe
There are lots of ways to upgrade lighting on a budget, from swapping out the globes in a sconce, to creating a new patterned look with napkins, to spray-painting the base. Upgrading a full-fledged chandelier is a little trickier, but DIYer and designer Alexandra Levy (@alexandralevyinteriors) shows how it can be done.

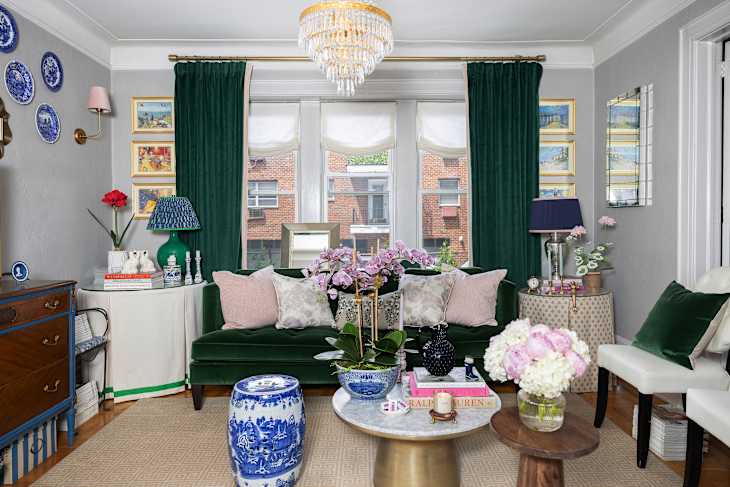
“I needed an affordable chandelier for the living room project in our new home, so I purchased this clear crystal chandelier,” Alexandra says on Instagram. (But you could do the project with a smaller lamp or thrifted find, too!) Alexandra wanted something a little more custom and vintage-looking.
“I found out you could dye crystals with something called alcohol ink,” Alexandra adds. She used Pixiss Alcohol ink in the shade Latte to give her chandelier crystals more of an amber-colored look.

Steps for Dyeing a Crystal Chandelier with Alcohol Ink
- You can dab on the color of your choice with a sponge brush, like Amanda did.
- Once you’re content with the color, place the glass beads on a cookie sheet.
- Put the cookie sheet in a cool oven, and preheat it to 350°F.
- Let the glass pieces slowly heat up.
- Turn off the oven once it reaches 350°F.
- Let the chandelier crystals sit in the oven for 50 minutes while the oven cools.
Just remember that once you put the dyed beads in the oven, the color will be permanent. But beforehand, if you’re not pleased with the color when you put the alcohol on, you can tweak it, like Alexandra did.
“Unfortunately, I wasn’t loving the first color,” she recalls of her project. “It came out very orange, but not to worry. Because it’s alcohol ink, you can get the ink off with alcohol solution.”
She rinsed off the first orange-y piece and then added her final shade of choice, Latte. “I was absolutely obsessed with the way it came out,” she says on Instagram.