
The Basically Free Way I Transformed My Pantry
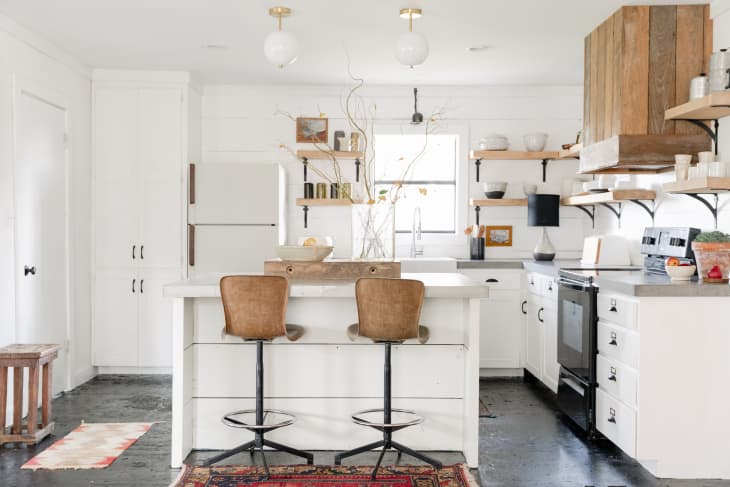
When I first moved into my apartment in January 2023, I had high hopes for organizing my kitchen, which has generous storage within an otherwise modest footprint. Inside this corner galley, there are cabinets on either side of the thoroughfare, but the most impressive detail is the floor-to-ceiling pantry at the opening.
This pantry could hold a lot of stuff, and I imagined clear bins and labels, glass jars and baskets, and anything else that would make Meryl Streep’s character in It’s Complicated feel at ease (whenever I picture anyone moving effortlessly around a kitchen, this movie comes to mind). But that’s not what happened.
Instead, I kept most of my food items in their store-bought containers, and whenever it looked disorganized I simply shut the pantry doors. On the highest shelves, I stored everything I optimistically bought for this expansive cabinet within the first few months of moving in: OXO storage containers, a wire basket, wide-mouth glass jars, and the linen lid organizer that came with my Caraway cookware. I regularly used less than half of the nearly two-dozen storage containers, one of the shelf inserts that came in a pack of two, and a clear wall-mounted cubby. All of my other kitchen cabinets had been streamlined over the course of two years, but the pantry remained in relative disarray.
That’s mostly because I had an established routine of stopping by the grocery store a couple of times a week to prepare meals with only two appliances: a slow cooker and a toaster. I decided that my pantry had to transition into its intended purpose, with foods I could store for long periods and appliances that could make better use of my time. My goal was to optimize my pantry with many of the things I already had.

I started by clearing out the pantry entirely. I tossed expired food, washed the containers, and scrubbed down the cabinets. I still wouldn’t need to use all of the storage containers, so I placed the superfluous ones at the back of the highest shelf and filled those remaining with pretzels and chips beside a rice storage container. If I didn’t have these bins, then I would still group the store-bought boxes together in one easy-to-reach place. Below all that, I kept the teeny shelf as is: This is where I keep trays, a charcuterie board, and a cast iron skillet.
On the third shelf, I stored all of my canned goods at the back and filled the smaller OXO containers at the front with goods I use throughout the week: brown sugar, granola, and chia seeds. Because this shelf is right in my line of sight, I wanted it to have a good balance of things I wanted to use all the time, and things I needed to use up over time. The shelf below it has glass jars at the front, simply labeled with masking tape and finally filled with shelf-stable staples, alongside a basket for potatoes or onions (either or, but never together, to make them last).
The next shelf has sweets at my niece and nephew’s eye levels, of course, and the shelf on the bottom has my small collection of appliances: blenders, a food processor, and a rice cooker. I also taped silica beads up on the walls, given that I live in an area with a lot of salt in the air — it makes it easy for things to get mildewed (if you were wondering).

But perhaps the best detail of this project is the vertical wall space. On the door, I hung the lids for my cookware beneath the clear cubby for seasonings. I found Command hooks from a different home project to hold oven mitts and measuring tools, maximizing space while keeping them all at the ready as I cook.
Organizing a pantry can be a daunting task, but the good news is that this area is flexible — even when it comes to procrastination. While I already had most of my tools, it’s not necessary to purchase everything at once. Instead, take the time to determine what your pantry needs before buying anything, and see if you already own items that can do the job.
Make use of your cabinet door’s vertical storage as much as possible, and group items together based on your routines. But most importantly, just get started. As soon as I got into a groove, I could finally make the most of my good intentions.