
I Transformed My Tiny “Landlord Special” Hallway Using a Brilliant IKEA Hack
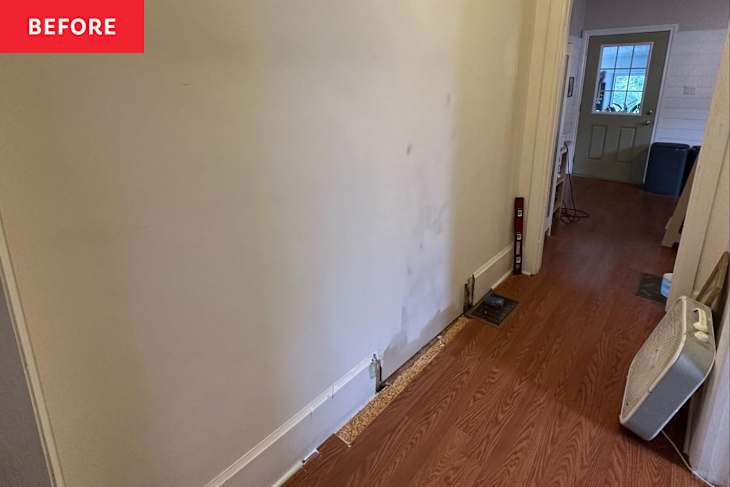
My family’s house is what you’d call a “landlord special.” It was used as a rental for years before we bought it, and you can tell. There are layers of flooring installed on top of each other, questionable renovation choices, nothing in the house matches (including trim and hardware!), and renovations were done haphazardly.
So when we tackled our first big reno within our hallway, we had all the best intentions of taking this pass-through space down to the studs. Then we planned to properly patch the old doorway, re-drywall, and add new flooring. But life got busy, and it never happened. So after looking at a half-patched doorway for a couple of years, I couldn’t take it anymore and finally gave my small hallway a much-needed facelift with an IKEA shoe cabinet hack.

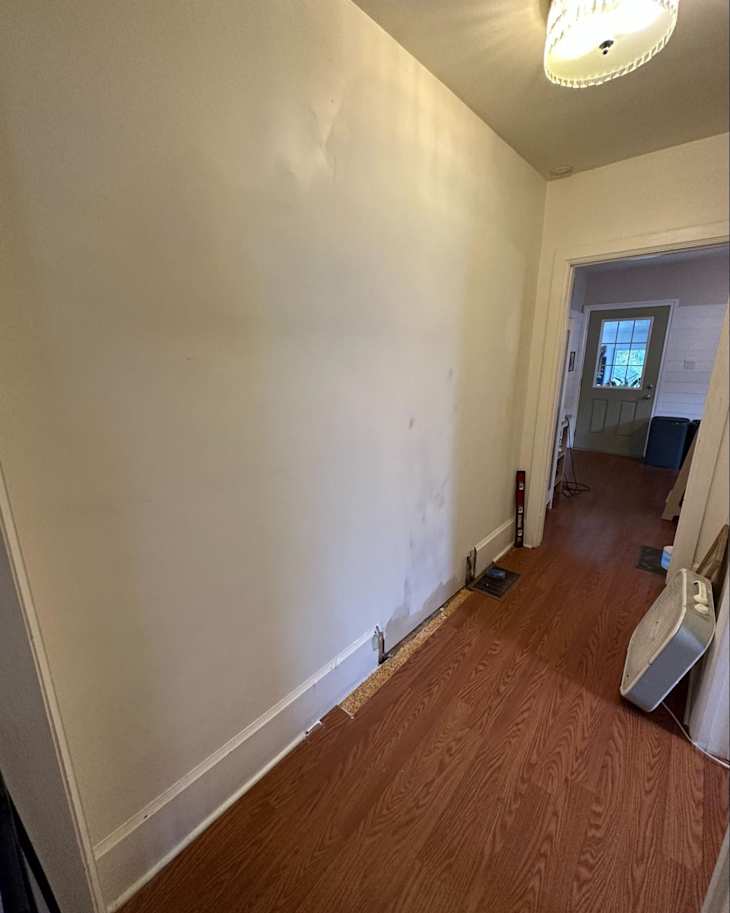
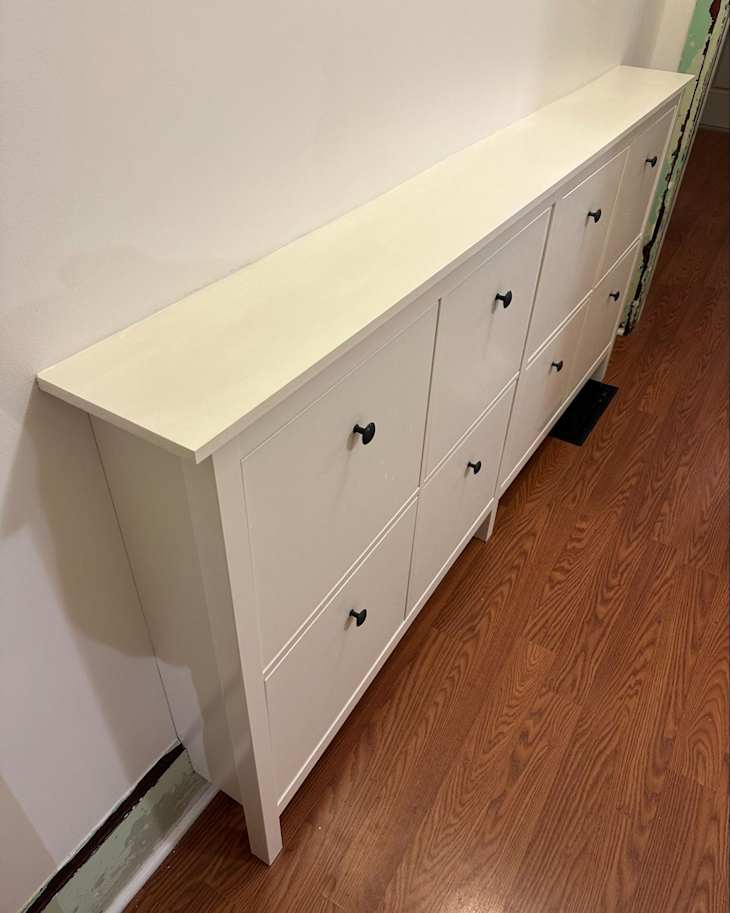
As you can see, after I patched the original hallway entryway, I was left with a somewhat uneven wall and an awkwardly sized hole between the laminate flooring and baseboards. That’s when I thought of IKEA’s GULLABERG shoe cabinets and knew they would be an ideal solution. At less than 9 inches deep, they’re super slim. Plus, they can be wall-mounted (even over baseboards) with front legs and a gap left at the back.
How I Used IKEA Cabinets to Cover Up an Eyesore
Due to my hallway’s overall length, I knew a single GULLABERG cabinet centered in the middle would look a bit awkward. At about 42 inches wide, one wouldn’t fully cover the hole I was trying to hide anyway. So the goal was to install two cabinets side by side to create the look of one seamless unit. Having never attempted this type of hack before, I turned to Pinterest for inspiration and tutorials.
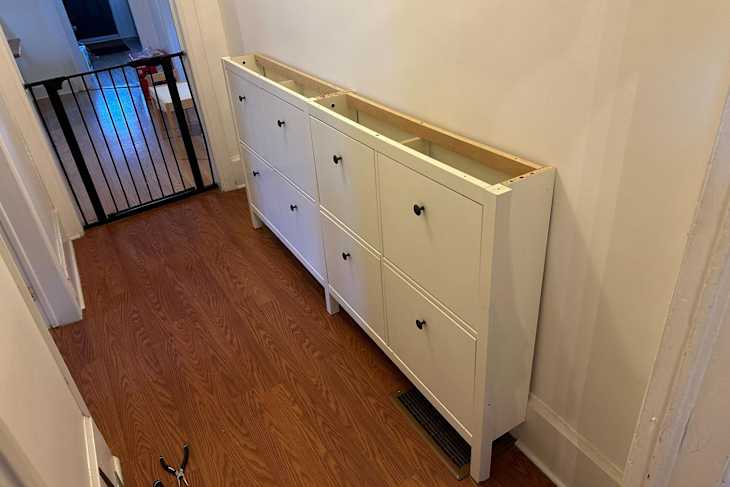
After successfully connecting the cabinets, I was left with the dilemma of what to do with the top boards that come with each GULLABERG. If you’re trying this hack, you could install the two boards side by side on top, patch the seam with wood filler, and paint it. Just note that they’ll stick out slightly more on the edges versus a single unit. Or, you can cut a new single board for the top, using a live-edge board, a stained piece of wood, or a simple painted MDF board (which is what we did).
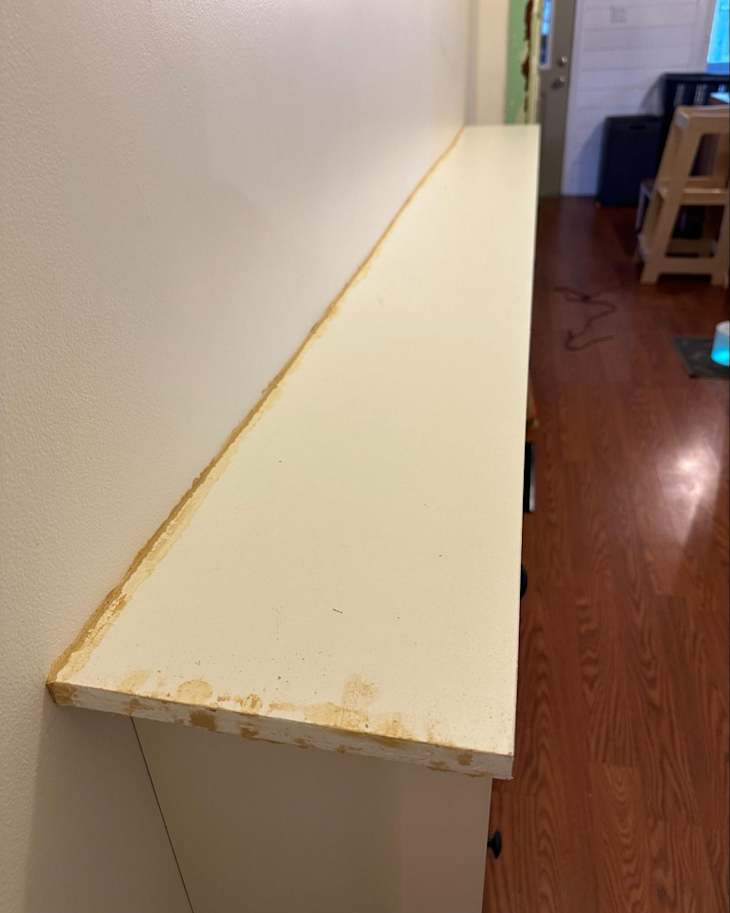
Once I installed the new top piece, I used wood filler to patch the seam in between the unit and the wall for a more professional look. Then, it was time to paint! Since I decided to leave both units white, I used The Home Depot’s handy color-matching paint service to get the most identical shade, which makes the new top board blend in with the rest of the unit.
Don’t have enough room for two units? This Wayfair shoe storage unit is nearly identical to IKEA’s system pictured above, but provides double the storage in a single unit thanks to a third drawer. The install is just as simple!

Finally, I chose to add a gallery wall with family photos above the GULLABERG unit along with an oversized faux pottery vase (that I also DIYed), some candlesticks, and a basket tray catchall for keys and knick-knacks. I also swapped out the generic gray IKEA knobs for some brushed gold accents from Amazon.
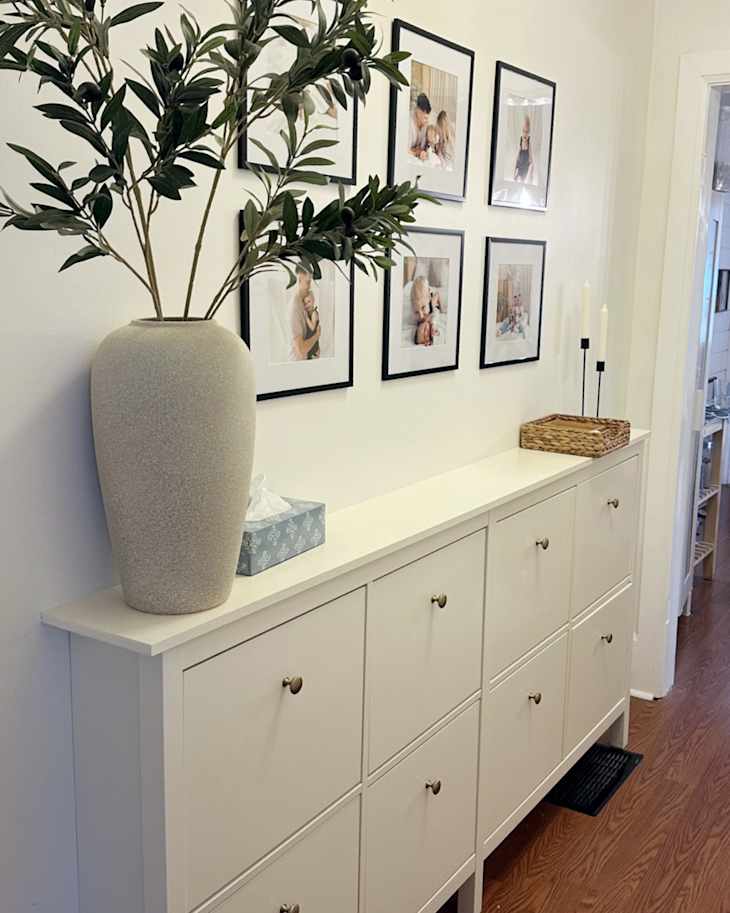
I love how this simple IKEA hack transformed my tiny, dark hallway into a functional and stylish space with so much more storage. Plus, I won’t have to look at that hole in the flooring and baseboards anymore. Win-win!
Apartment Therapy Daily
Enjoy a daily dose of hand-selected house tours, before & after transformations, decorating hacks, and more.