
How to Build a Long Wood Floating Shelf (That Won’t Sag in the Middle)
All this week we’re talking about bathroom renovations, starting with Ashley’s recent remodel, and following up with tons of helpful posts about the process!
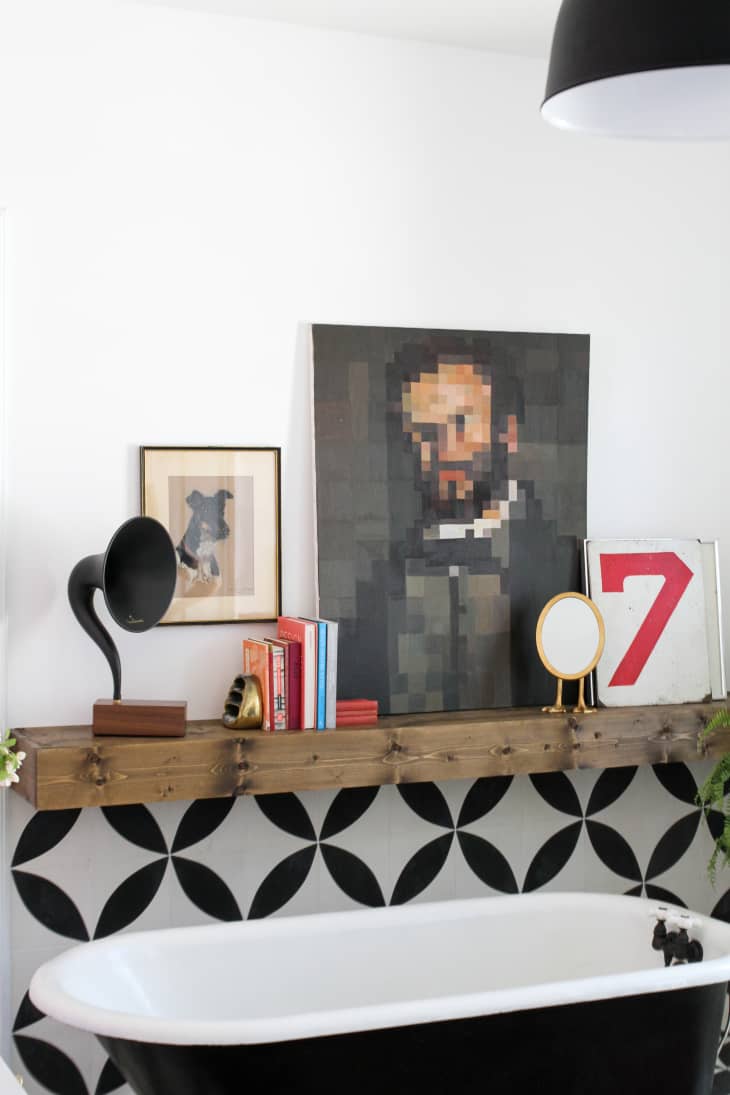
Floating shelves are fantastic, and I knew I wanted one above the tub in my new bathroom. We searched high and low for a floating shelf that not only looked good, but could hold a lot of weight without sagging —especially because the wall is pretty long. We stumbled across these plans from Whitney, and decided to make a custom shelf ourself that would fit perfectly in the space.

What You Need
Materials
Pine, Common Boards:
- (2) 1 x 12 x 72″ from Home Depot
- (1) 1 x 6 x 96″ from Home Depot
- (2) 2 x 4 x 96″ from Home Depot
- 2 1/2″ Pocket Hole Screws from Home Depot
- 1 1/4″ Pocket Hole Screws from Home Depot
- 3 1/2″ Wood Screws from Home Depot
- 1 1/2″ Wood Screws from Home Depot
- Wood glue (optional)
- Stain or paint (optional)
- Wood putty (optional)
- Sealer (optional)
Tools
- Pocket Hole Jig
- Drill
- Miter Saw
- Stud Finder
- Tape Measure
- Pencil

Cut list:
- From the 1 x 6 x 96″ board cut: (2) 11-1/4″ pieces, you will be left with a 73″ cut.
- From one 2 x 4 x 96″ board cut: (6) 9-3/4″ pieces
- From the other 2 x 4 x 96″ board cut one 71-1/2″ piece
The 1 x 2 x 72″ boards do not need to be cut.
Instructions
Assemble the inside frame:
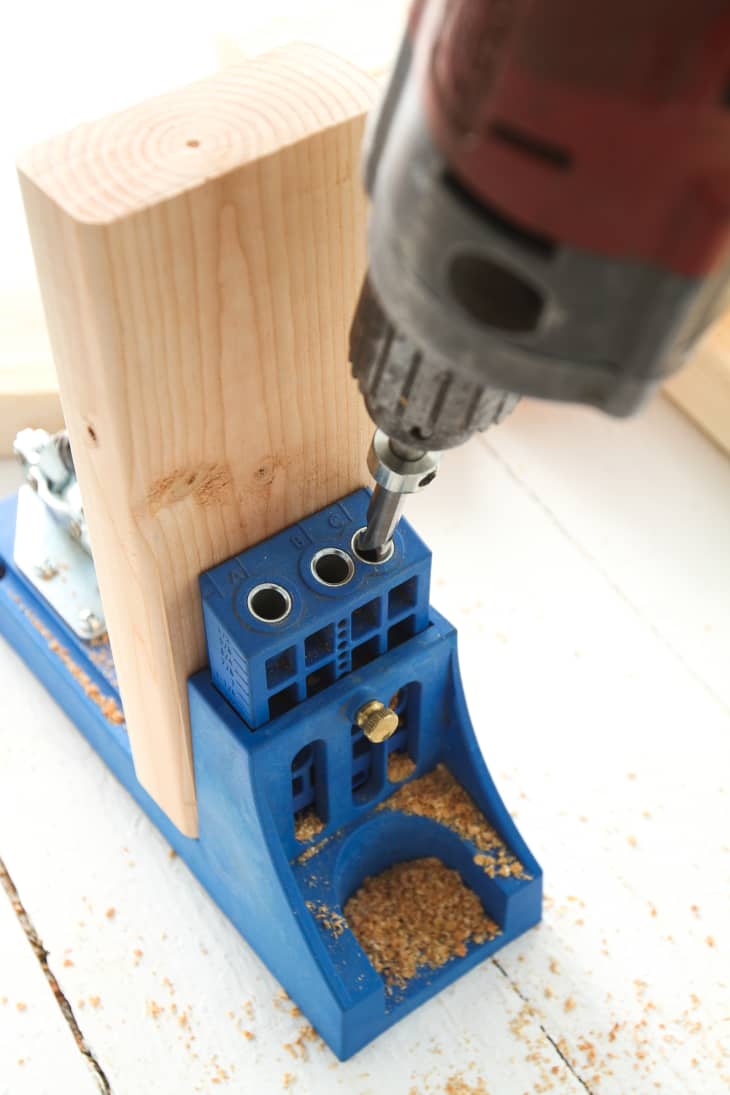
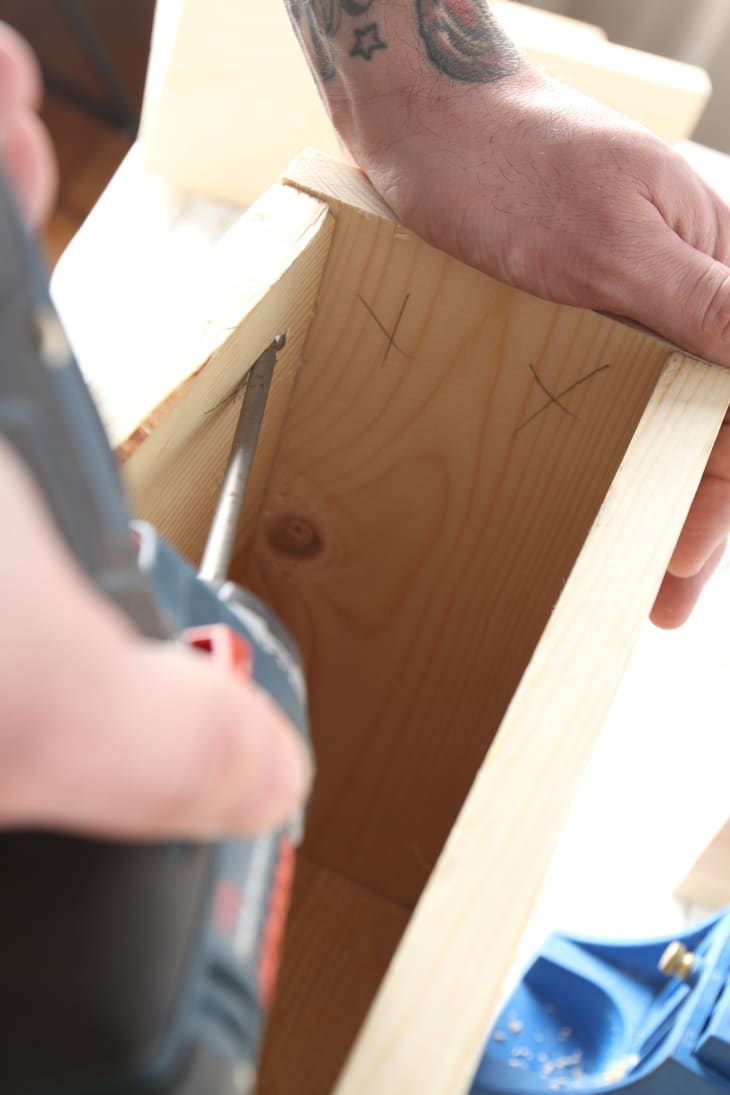
1. Drill two 1 1/2″ pocket holes into one end of the 9-3/4″ cut pieces of 2 x 4″.
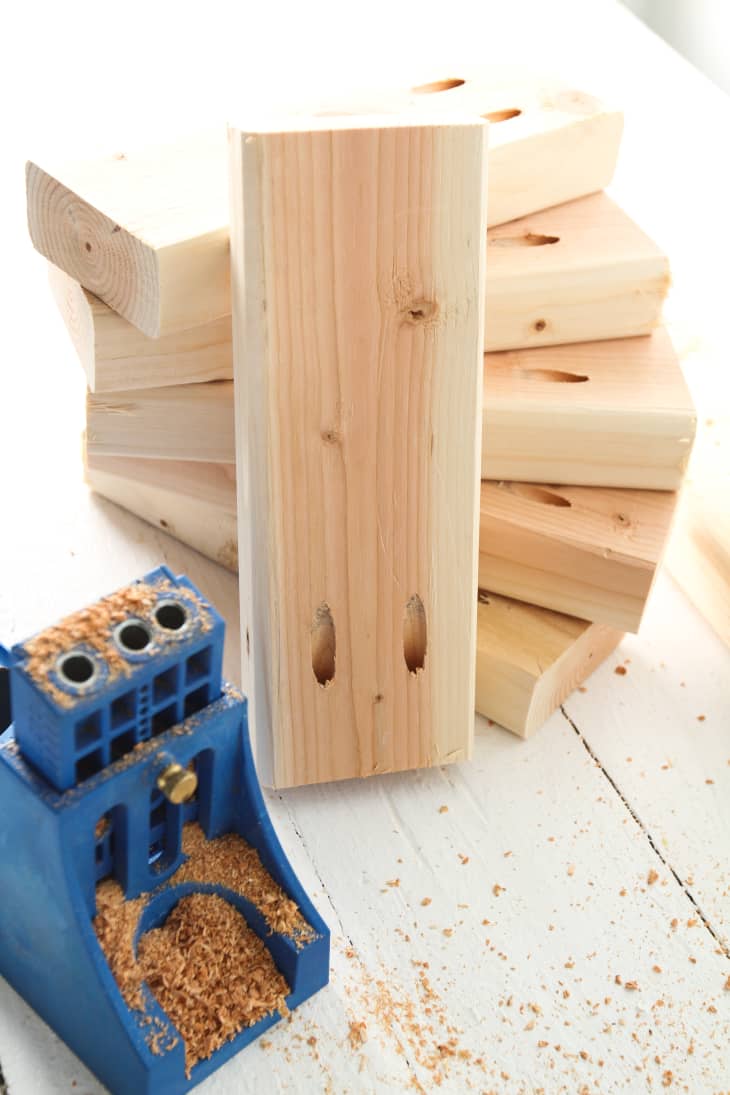
2. Repeat Step 1 with the 5 remaining cuts.
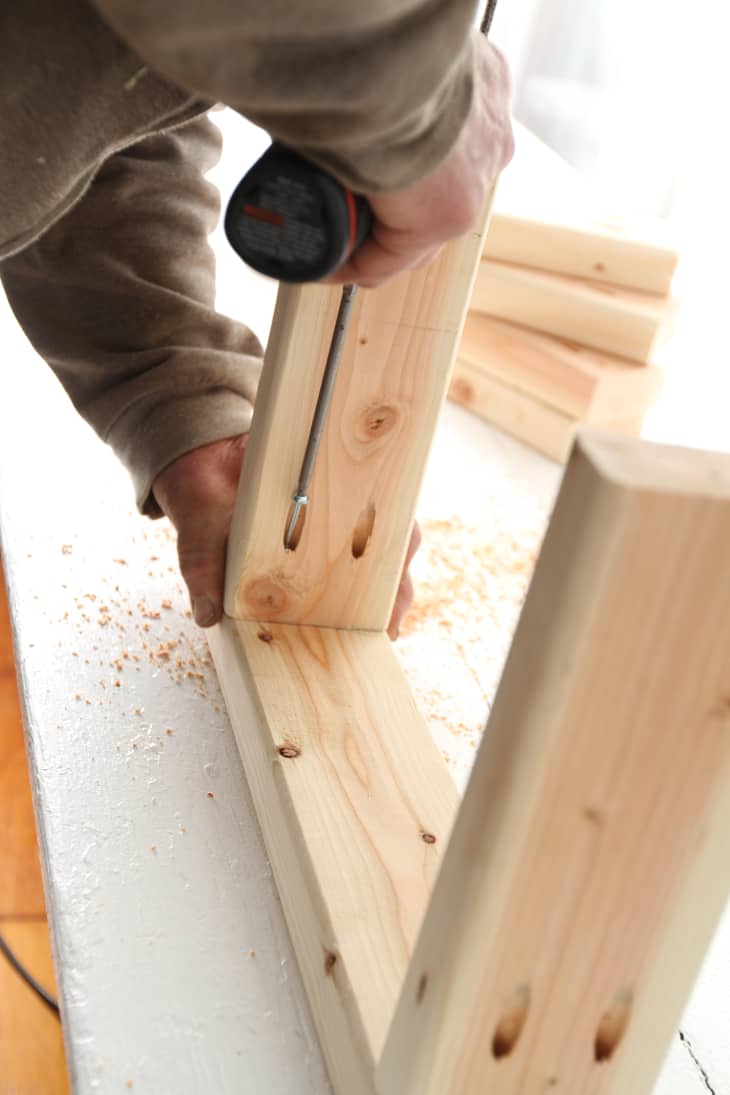
3. Space out the six 2 x 4″ cuts evenly along the 71 1/2″ cut and attach with 2 1/2″ pocket hole screws.

4. For an extra secure hold, run a line of wood glue underneath each piece before drilling through. Your finished frame will look this:
Assemble the box/shelf cover:

1. Drill pocket holes into each 1″ x 12″ board. You’ll need at least two holes on each end and anywhere from 5-7 holes drilled along the sides. We set our jig to 3/4″ to drill, and used 1 1/4″ pocket hole screws.
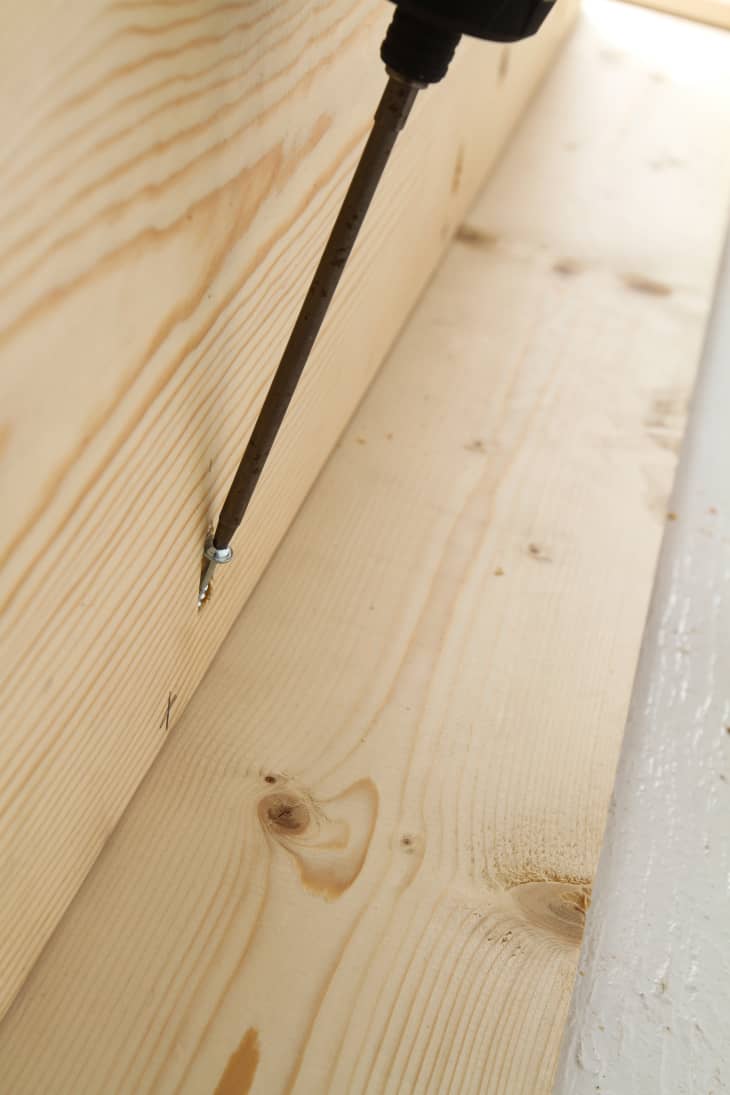
2. Once all the holes are drilled, attach the 1 x 12″ to the 73″ 1 x 6″ using 1 1/4″ pocket hole screws. Repeat this step with the remaining 1″ x 12″ to attach the bottom side of the shelf.
3. Next, attach the sides ( 1 x 6 x 11-1/4″ pieces) with the 1-1/4″ pocket hole screws.
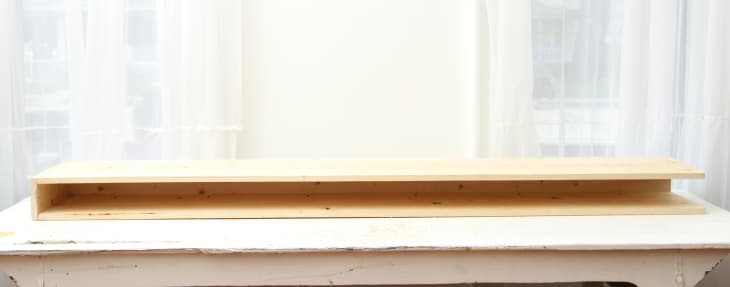
Your box/shelf cover will end up looking like this. We wanted a nice tight fit in the corner, so we left one end off. If both ends of your shelf are exposed, you want to attach both sides instead of one.
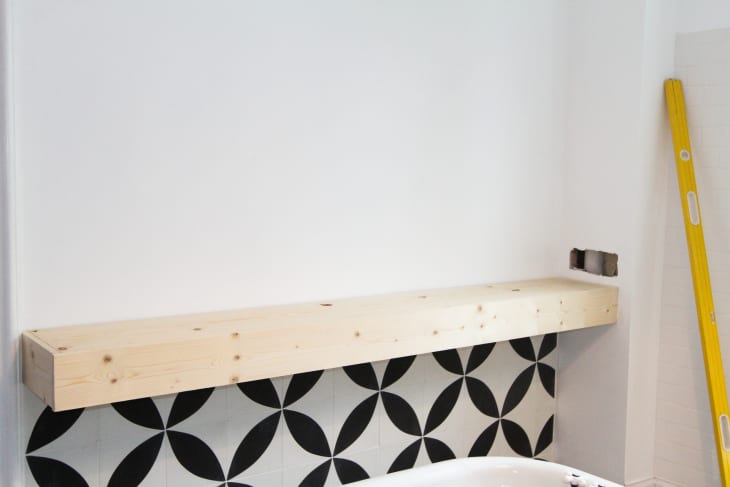
Install:
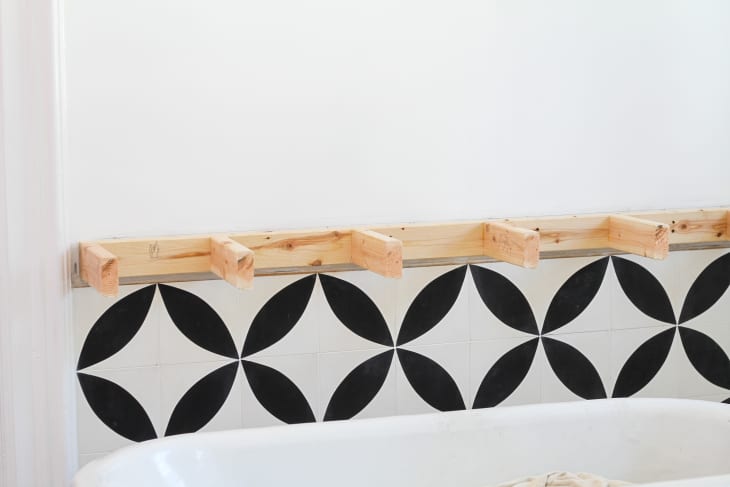
1. Using a stud finder, locate the studs in your wall and mark the spots lightly with a pencil. Hold the frame in place and mark the areas that lay over the studs. Level out the frame and install it to the studs using 3 1/2″ wood screws.
2. Slide the box over the frame. It will be a nice, snug fit so be sure to get assistance for this step.
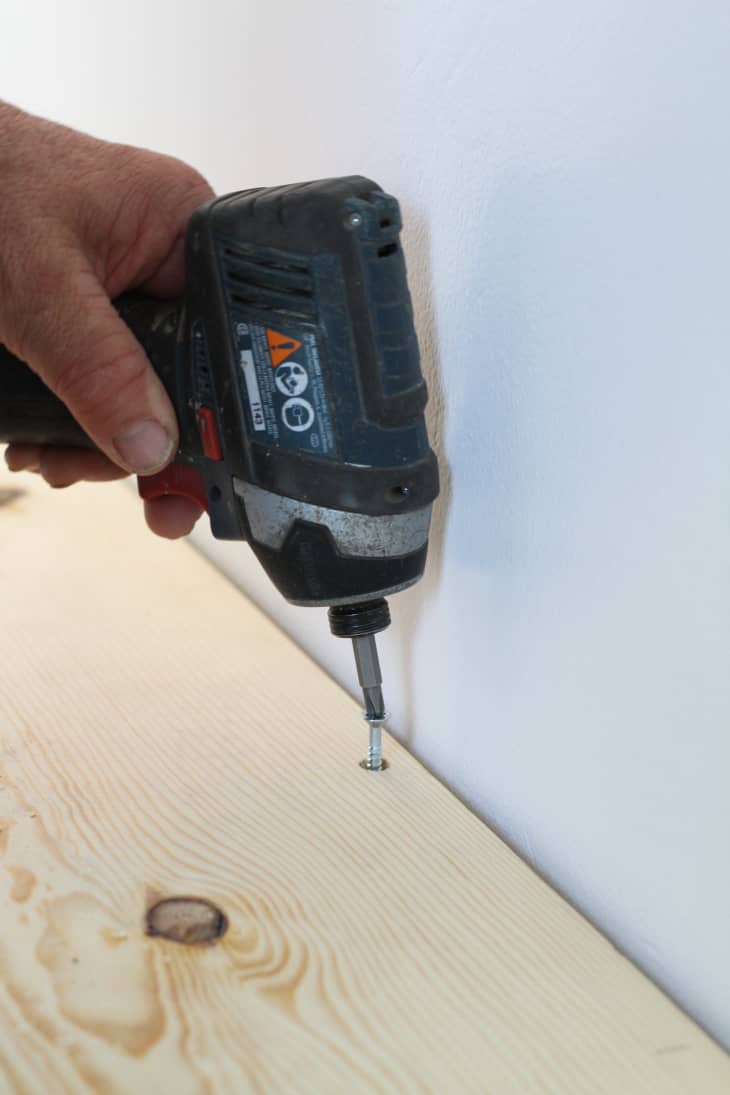
3. Pre-drill holes along the back, sides, and areas over the braces of the box to install 1 1/2″ wood screws to the frame. If you want to hide the screws, use a countersink bit first, then fill the holes with wood putty later. (This is what we did.)
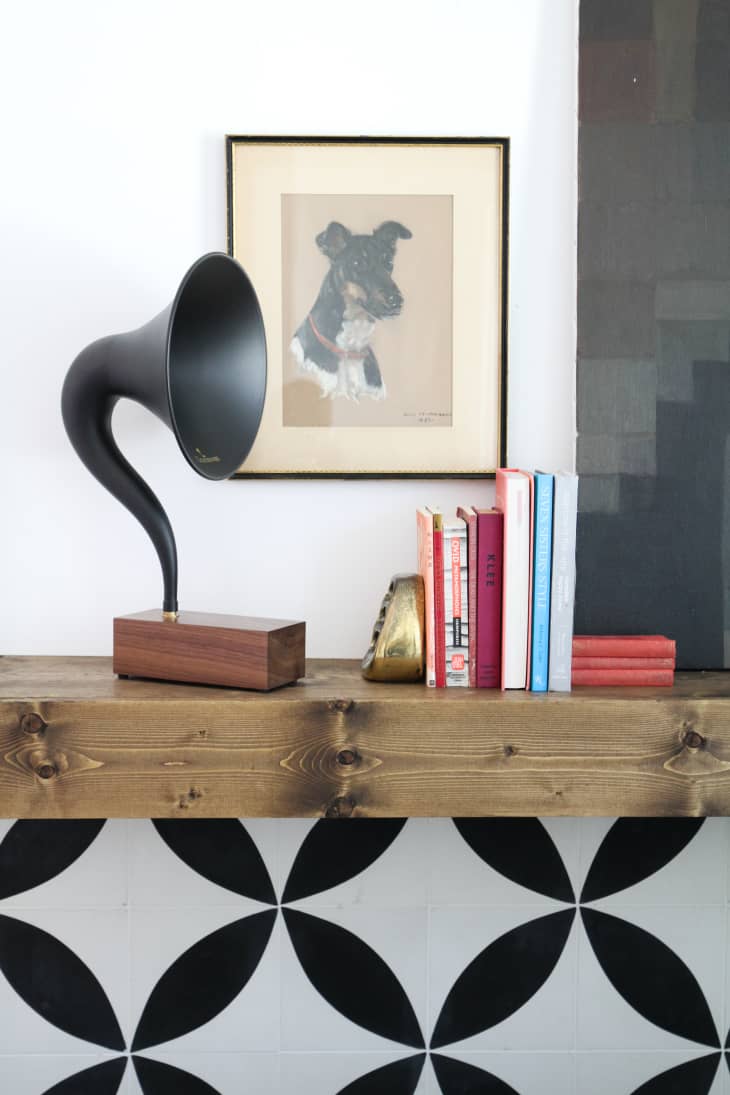
4. Stain or paint as you like. We waited to stain our shelf until it was installed but you can most definitely paint or stain it before installing.