
Make This: Chic Semi-Circle Fringe Mirror
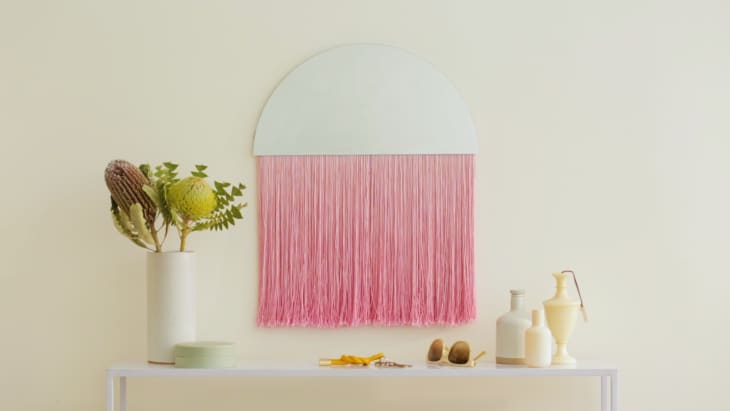
Spice up your entryway, bedroom, or hallway with a bold statement piece that’s sure to mesmerize and beautify. The blush pink fringe is the perfect pop of color, and the sleek shape has “chic” written all over it. See how to make your own, from cutting your own custom mirror to dip-dyeing the perfect fringe, with this helpful tutorial.

What You Need
Materials
1 18″ circular mirror
Glass cutter
12-inch Polyester fringe trim by the yard
RIT Dye for synthetics in Petal & Tan
Bowl for dyeing
Clips
Wooden dowel rod
Tools
Hot glue gun, glue sticks
Ruler or measuring stick
Scissors
Dry erase marker
Instructions
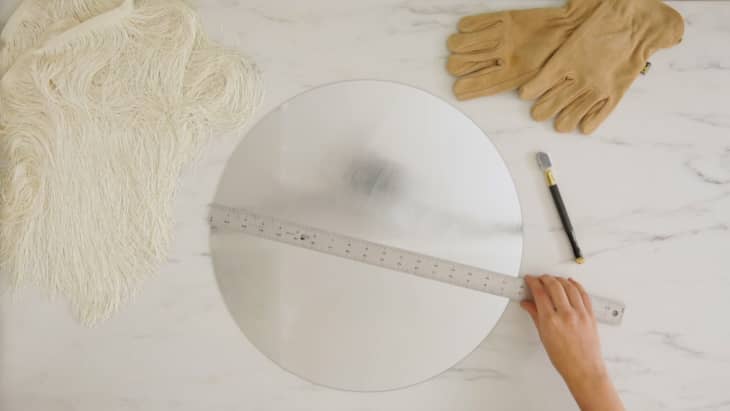
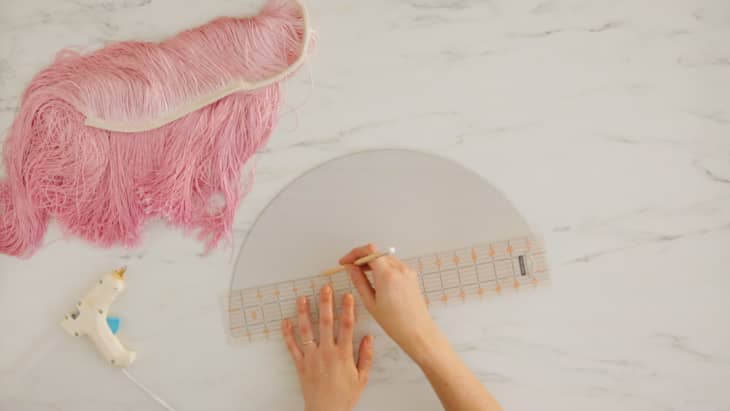
1. Using a dry-erase marker, measure and mark the center diameter of the mirror.
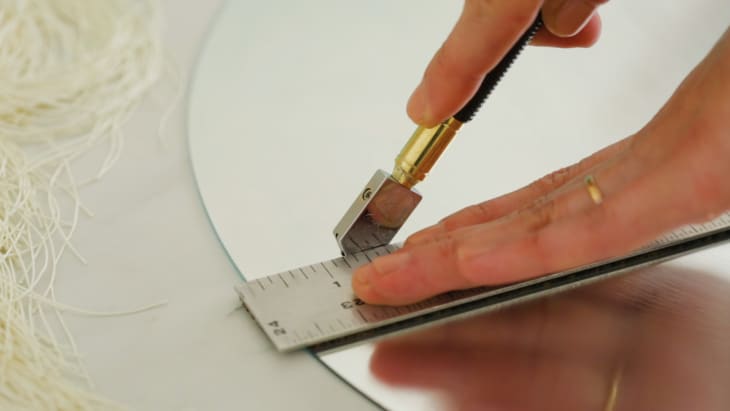
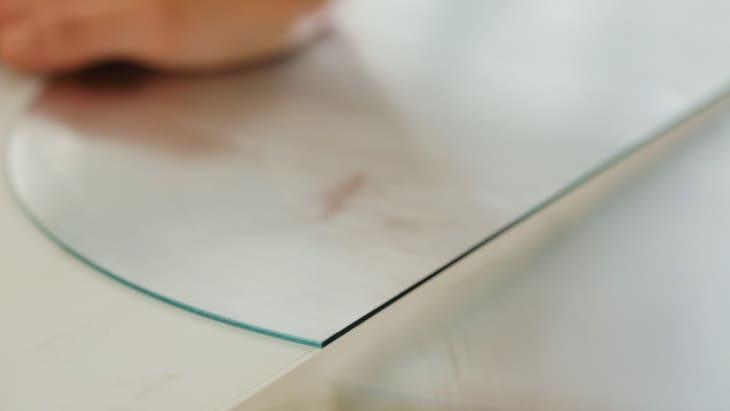
2. With your glass cutting tool and straightedge, carefully score the mirror using firm, consistent pressure. Pro-tip: If the cutter makes a screeching or gritty crackling sound, you’re doing it right.
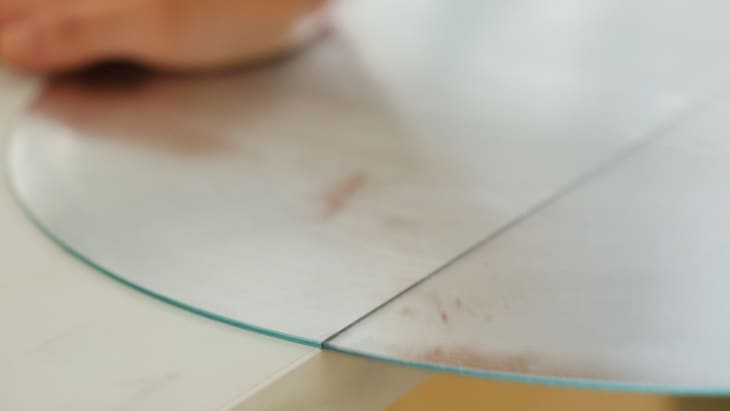
3. Snap the mirror in half by placing the scored line across the edge of a table or other hard surface, and carefully apply pressure until it gives a clean break. If the edge seems a little rough, you can use sandpaper to smooth it.
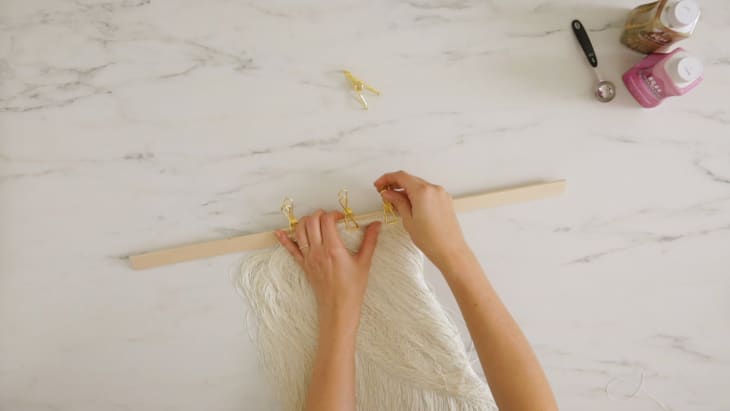
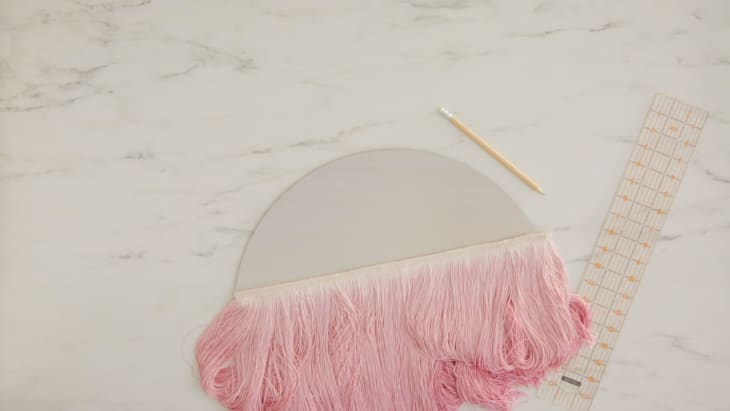
4. Measure and cut your fringe to fit along the straight side of the mirror. If you want thicker fringe, cut another layer of fringe and attach the two together with hot glue. You can also use this time to decide the length of your fringe.

5. Clip the fringe to a dowel rod that can sit across your dye bath.
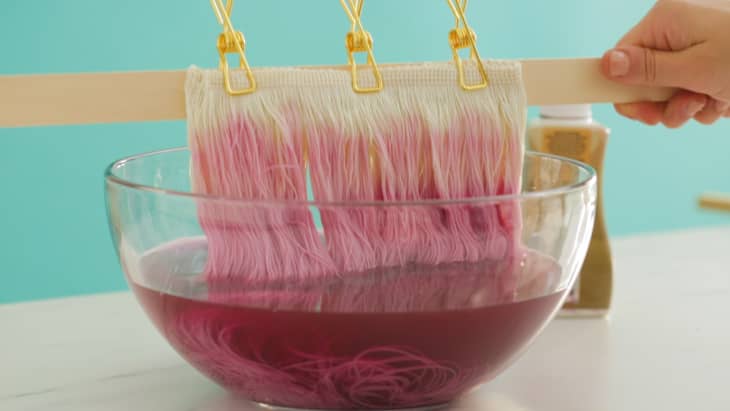
6. Prep your dye bath according to the instructions on the back of the bottle. Note which process should be used for synthetics vs. cottons since the fringe is polyester. Don’t be afraid to mix two colors to create your own custom color.

7. Dip your fringe into the dye bath. To get an ombre look, remove the fringe in increments. Once removed, allow the fringe to dry completely.
8. Use your straightedge to mark a level line across the back of the mirror. Adhere your fringe along the marked line using the hot glue gun, and then you’re ready to go!
Have a really great DIY project or tutorial that you want to share with others? Let us know! We love checking out what you’re making these days, and learning from our readers. When you’re ready, click here to submit your project and photos.