
5 Brilliant Ways DIYers Planned Their Projects Before Even Beginning
Before even breaking ground (or wall or door frame) on a room transformation, many intrepid DIYers — and designers — create a mood board. Over the years, people have sent in some pretty impressive examples along with their Before & After submissions for Apartment Therapy, and it’s rewarding to see the final product just a few seconds of scrolling later.
Of course, the projects themselves take much longer, but it’s also validating to see the wide range of mood boards submitted. You can plan a project with a pencil and paper, using Photoshop, with AI, or, ahem, with Apartment Therapy’s Mood Board tool or Room Plan tool. Here are five real-life projects featured on AT and the renderings that helped them get there.


Illustration-Slash-Photoshop Combo
Interior designer Nina Watson (@artdecojewel) likes to start with a hand drawing of a room. Then, she uploads that to Photoshop and adds in different textures and objects for accessorizing. (Note how she uses actual images of fabric and wallpaper.)
“I used to be an illustrator and have found that they’re a really lovely way to combine my love of illustration with my passion for interiors,” Nina says. “I deliberately want the finished images to give the vibe and atmosphere of the intended space without looking literally like a 3D render; these feel more unique and characterful, and my clients love them!”
Plus, it’s a helpful way to see how the patterns and finishes will all play together. In fact, this is the second rendering Nina made of this hallway. She originally painted the walls and trim blue and then decided on this pale yellow instead.


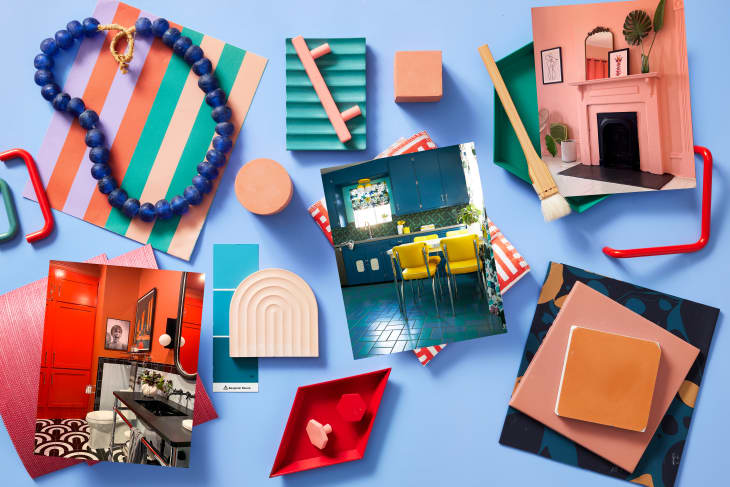
An Image Collage
Renderings and mood boards don’t necessarily have to look like framable artwork and you don’t have to have a degree in fine art to make one. Consider going the collage route by compiling a bunch of images you like onto a white Google Slides background, in a Pinterest board, or with AT’s Mood Board tool.
That’ll get you something similar to what Kara Harms created for many of the rooms in her home, including the kitchen, with its House of Hackney wallpaper, green and white tile floors, and new lighting.


AI and Big-Box Room Planner Tools
Apartment Therapy’s studio director, Vicky Wasik, used Wizart AI’s visualizer tool to create this image to get a sense of how green backsplash tiles would look when paired with green paint in her kitchen. But her process actually involved “doing a lot of mockups using various tile and countertop sites plus my trusty Photoshop skills,” she says.
For example, she used the design tool on The Home Depot’s website to test out swapping her old tan countertops with white quartz before actually doing any heavy lifting.

A Simple Sketch
Whether you use the “draw” tool on your phone’s camera app or the OG “draw” tool (pencil and paper), a rough sketch — no illustration background required! — can also go a long way.
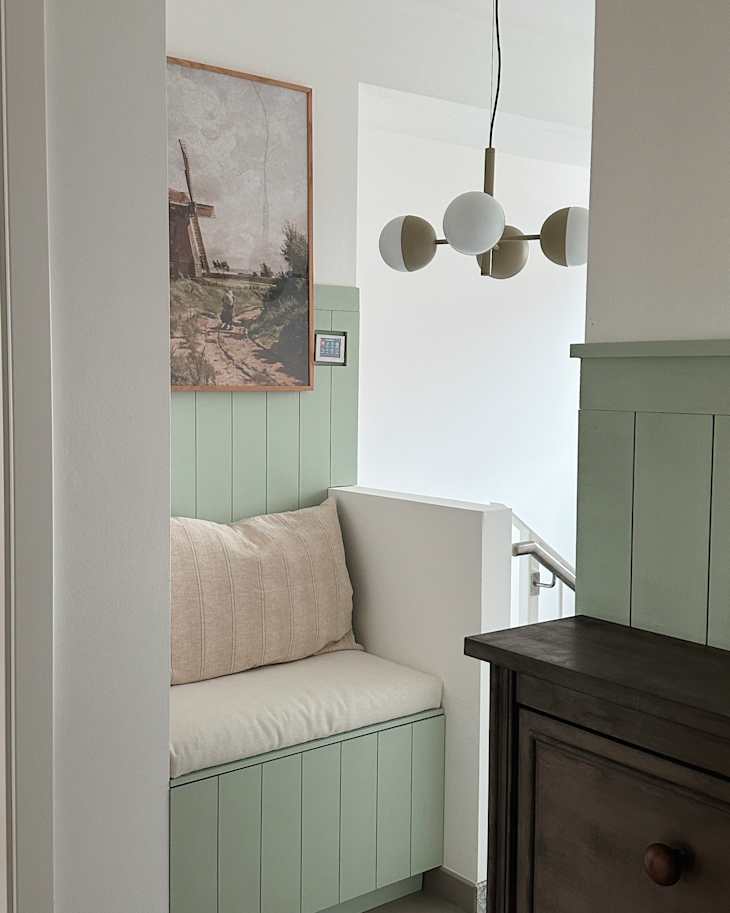
In their hallway makeover, Hillary and her husband planned out how they wanted their bench and pendant light fixture to look by taking a photo of their entryway and then drawing over top of it — perfect for determining the right proportions for the artwork and the best height to hang the light fixture. This is also a great strategy for communicating a design vision to a partner so you can both land on a shared vision.


Professional Rendering Tools
Homeowner Katie Miller is a professional architect, and she’s “laid out dozens of office kitchens.” So it’s no surprise she used Revit, an architectural modeling tool, for her own apartment kitchen’s makeover, too. Other DIYers, like Megan Hamman in her bedroom makeover, have used CAD and Sketchup softwares.
“I did also use the IKEA planner and have their staff review it before I ordered,” Katie says of her kitchen. “I spent hours and hours and hours figuring out this project.” She researched every detail and was extremely precise in her planning. One hiccup she encountered during her kitchen renovation, though, is that the installation crew didn’t look as closely at her drawings as she did. “Shout-out to the Lowe’s appliance guys who got it right on the first try!” she adds.