
I Declutter One Zone in My Home a Month, and It Makes Organizing Way More Manageable
I don’t know about you, but the thought of decluttering the entire house in one go feels basically insurmountable to me. All those nooks, crannies, closets, and corners each represent hours of decision-making (to keep or to toss?) and tedious organization of all my belongings. Over the last year, I’ve given myself full permission to take it easy. Not by neglecting organization completely, but by working in short bursts versus trying to tackle it all in some Everest-style quest.
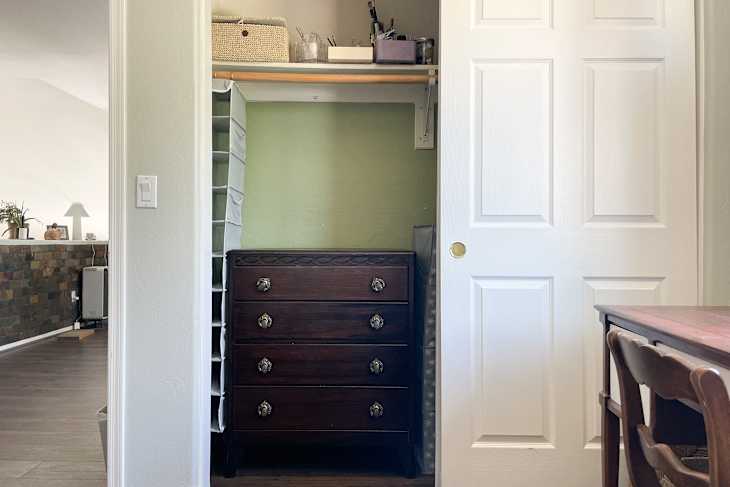
My secret to making decluttering way more approachable is to create a list of “zones” that need attention and to tackle just one or two each month. For example, last month I braved the towering mess in our spare closet (and found my birth certificate that had been missing for a while) along with our bedroom nightstands (seriously, how do these become so disastrous?) This month, I gave my little built-in desk nook a clean sweep and finally got rid of all the rogue receipts I’ve been collecting for over a decade.

How I Use My Zone Organization Method
For me, working in small zones ensures I don’t deal with mental fatigue and dread — which can become a roadblock to organization in general — and it also helps me declutter areas that are easily neglected (like a jewelry collection or under the bathroom sink.) Here’s my process.
Step 1: Make a list.
I’m a proud list lady, so I have a Notes document on my phone of areas that need to be addressed throughout the house. Walk into each room, identify zones, and add them to your list. I like to make this a living document that’s easy to add to as needed. A thorough and clear list of what needs to be done ensures that hidden or often forgotten areas (like bookcases, silverware drawers, and cleaning supply closets) get proper attention.
Step 2: Create a schedule.
This is more loose for me, but coming up with a general idea of when to address certain areas can help take the decision-making out of things. Plus, knowing weeks ahead of time what you’re going to declutter means you can set yourself up for success in terms of organization solutions (like bins, baskets, and acrylic organizers). I like to lay things out in terms of load (so two small zones in a month, or one larger zone) and seasonality/pressing needs (for instance, guests are visiting, so the guest closet needs a looksie).
Sometimes I’ll get to a certain zone on the schedule and realize that I’m just not digging the idea of digging in said space. In that scenario, I’ll swap that zone for another one on the list. However, my informal rule is that I won’t delay a certain space more than once.
Step 3: Allocate one to two hours per project.
Part of the overwhelm that stems from organization projects is the fear that you’re going to get caught organizing for hours or even days on end. Breaking things up into zones already alleviates that, but so does having a time limit. One hour for small projects — the perfect amount of time to listen to your fave podcast — and two hours for larger zones is usually plenty for me. Knowing there’s an end time helps me stay focused.
Step 4: Follow a simple, repeatable process.
The whole “things get worse before they get better” definitely applies to organizing. My method is to remove everything, sorting into piles for keep, toss, and donate as I move along. Next, I clean the space by wiping down surfaces and sweeping. From there, everything goes back, ideally to its proper home or in a more organized way.
I don’t delete a zone from my list after it’s done. Try as I might, areas can become cluttered again over time, so I’ve found that it’s helpful to readdress them again three to 12 months later depending on the space.