
I Discovered a $15 Trick for Making My Cheap Curtains Look Designer
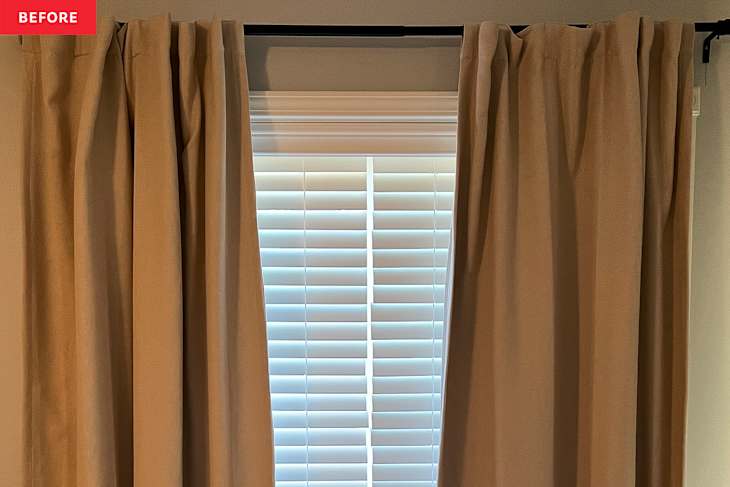
I never truly appreciated the power of good blackout curtains until this year, when the gorgeous, sunny windows in my bedroom became the biggest obstacle to getting my infant daughter to sleep. After a few too many bedtime battles in a row, I bought the first curtain rods and blackout curtains I could get my hands on and installed them right away.
Those blackout curtains served their purpose well, but my rapid installation meant they looked pretty lackluster. That’s why when I came across this TikTok video showing a hack for getting a fancy pleated look on basic curtains, I immediately pocketed it for later.
In the video, designer Windsor Dalton shows how he turns basic curtains installed using the built-in back tabs into high-end looking pleated curtains. The secret is in pleat tape, which Dalton threads through the back tabs to help give the top of the curtain more structure. Then, he makes even folds across the top edge of the curtain, adding a curtain clip to pinch each into place.


The result: The curtain doesn’t sag or droop between the clips, making it look a whole lot sleeker and way more expensive (even though the pleat tape only cost $15!).
I finally got the chance to try this pleated curtain hack out for myself, and I was impressed. Here’s how it went.


How I Used Pleat Tape to Upgrade My Curtains
Like Dalton, my curtains were installed using back tabs, so the pleat tape hack was easy to replicate. (It wouldn’t be a great fit for curtains hung via rivets or rod pockets.)
Pleat tape is typically sewn into the tops of curtains, which are then pinched into neat pleats using metal prongs. This looks super fancy, but takes a lot of work! In Dalton’s hack, he simply threads the pleat tape through the back tabs and keeps it in place with curtain clips.

I followed Dalton’s lead, trimming the pleat tape to match the width of my curtain panels and threading the tape through the back tabs. Then, I folded pleats into the curtain panels and pinched those together with curtain clips before hanging. The total time: about 10 minutes.


What I Like About the Pleat Tape Curtain Hack
The beauty in this pleat tape hack is that you don’t have to pull out a sewing machine, or even a needle and thread. All I needed was a pair of scissors.
The result looked much more polished than what I started with, too, and I think the pleated style makes my budget curtains look a little more like their pricier counterparts. And, perhaps most importantly, this hack was cheap: just $15 for the roll of tape, which had tons left over after I finished my two curtain panels. If you don’t already have curtain rings, you can get a pack of those for $7, meaning the total cost for this hack is still under $25.
One word of advice: It looks best to have the innermost clip fold your final pleat inward, which will hide the backside of the curtain, rather than simply clipped on the end. You can see in my photos that the curtain panel on the left has a clip directly on the innermost end, making the back lining visible. On the right panel, the innermost clip is fastened a couple inches from the end of the curtain, allowing the pleat to fold backwards toward the window and conceal the back of the curtain panel.

I love how the pleats look when the curtains are open (so crisp! so neat!), and I really like that when my curtains are closed, they still have a little extra finesse. The subtle pleats look so much nicer than having curtains hanging flat from the clips.
Would I do this hack again? Most definitely, and it’ll be even easier the next time since I already have the pleat tape in hand. Since it was 10 yards in total, I should be able to cover about four more windows before I have to reload.