
This Nostalgic DIY Is Back — Here’s How to Get the Look Using a Grocery Store Staple
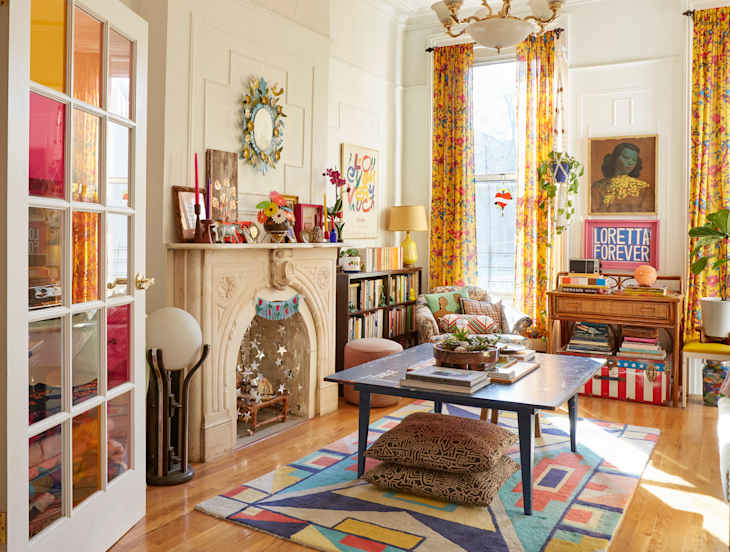
Block print fabrics are everywhere lately, especially during summer, where they seem to just fit the casual, boho-inspired vibe I crave once the weather warms up. Turns out, it can be surprisingly easy to score the same effect with a potato stamp, something I was reminded of when I recently saw a creator potato stamping her wall to mimic the look of block print wallpaper.

One of my favorite artists, Molly Mahon, also creates the most charming block prints and even offers workshops teaching people how to make their own. She’s located across the pond, so the closest I could get to a workshop was watching a video she created, which showed how to make an adorable tea towel using a potato as a stamp. It seemed pretty straightforward, so I had to try it myself.
I had a few concerns going into the project, but my biggest was what would happen with the liquid from the potato. Would it make the fabric gooey or starchy? Figuring there is no better way to find out than to try, I dove right in, aiming to create block print-inspired café curtains of my own. I am happy to report the project was an adorable success, and the potato liquid wasn’t as big of an issue as I had imagined it would be (phew).

Fair warning: This might not be a project for you, perfectionists! Part of the beauty of hand stamping lies in the imperfections. Once you embark on this potato carving journey, you just have to embrace the wonky and go for it! Ready to get to stamping? Here’s what you’ll need:
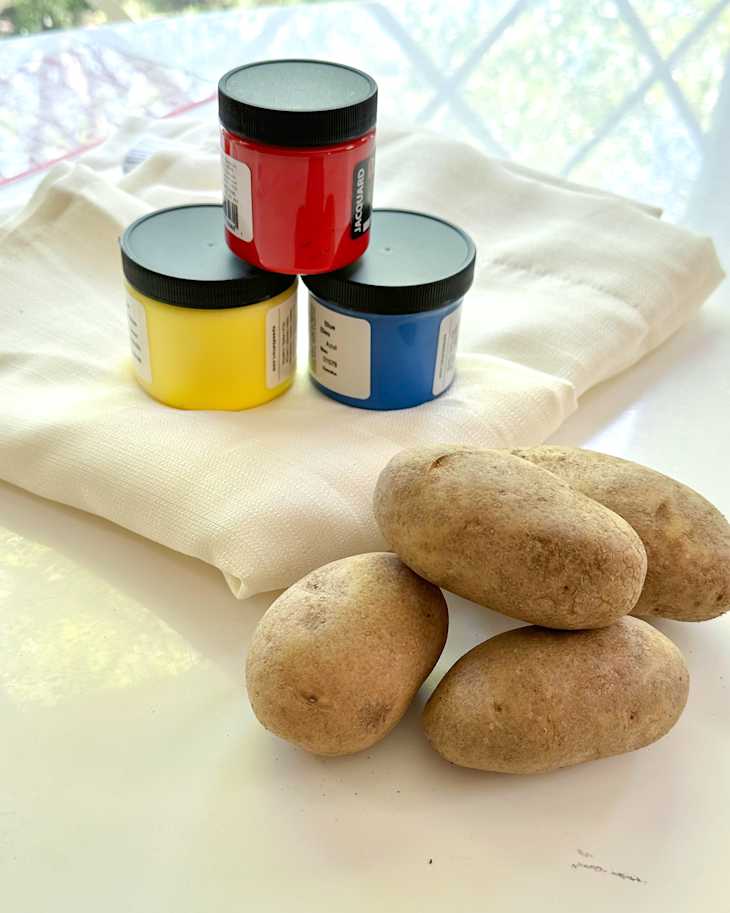
Supplies
- Potatoes (Any kind will work; I used russet)
- Paring knife
- Screen printing ink or fabric paint
- Paper towels or rags
- Café curtain
- Cardboard backing
- Iron
- Tracing paper (optional)
- Optional tools: melon baller, frosting tips, jigger, flat head screwdriver
How to Create a Potato Stamp Café Curtain

Draw Your Design
Searching “block prints” on Etsy is a great place to start looking for inspiration if that’s the vibe you’re going for, but the beauty of potato stamping is that you don’t really need to carve a design if you don’t want to — just slice a potato in half and use the organic circular or oval shape to create designs in various colors.
However, if you do decide on a carved design, you can transfer your drawing onto the potato using tracing paper. By pressing firmly as you trace over the design onto the potato, you’ll be able to make a slight indentation on the potato, which you can then follow as you carve. Otherwise, you can freehand carve the design. Keep in mind that simple designs are best.
Try to come up with a design that creates an interest in the negative space as well. If you have a nondescript shape (like my flower petals), carve a notch out of the top middle so you can position it in the same place each time.

Carve Your Potato
Depending on the size of your design, cut a potato in half width or lengthwise. Use a small paring knife to carve your design, cutting down 1/8-1/2 inch. After the design has been carved, make sure the area around the design is clean by trimming it down by another 1/8 inch. Cleaning up that area will help keep excess ink from transferring onto your fabric.
When carving, get creative with how you create your stamp, even if it means not using a knife. You can use things like the end of a frosting tip or even a jigger to create a perfect circle. Then, use a flat-head screwdriver to dig the circle out. If you want a perfect circle as a stamp, press the circular tool down through the potato.

Start Stamping
Blot the stamp onto a tea towel or paper towel to remove moisture from the potato before loading it up with ink or paint. Brush on your pigment, then blot the stamp a few times on a dry kitchen sponge to remove excess. I like to double-check the stamp for excess ink on any negative space, or for large globs before pressing it into the fabric. It’s also a good idea to do a test print on similar fabric before stamping your curtains, so you can get a feel for how you want to lay out the design.
You can really have fun with the pattern, alternating the design as you work your way down the fabric or stamping so that the design is touching, which adds a lot of visual interest to your fabric. Depending on your design, stamping close together can create a really interesting negative area, so be sure to consider that before laying down the first print.

Set Your Print With Heat
Once the ink has completely dried (overnight is best), set your iron to the cotton setting (or whatever is recommended for the curtain fabric type) and run the iron over the entire curtain for 3-5 minutes to set the ink. After you’ve heat set your curtain, you can wash it as necessary without the print rinsing off. All that’s left to do? Hang it up and admire your handiwork!