
This “Bow Tree” Is an Easy Holiday DIY That’s Perfect for Small Spaces
Have big holiday decor dreams but not a lot of space to bring them to life? Don’t let that keep you from leaning into your seasonal spirit! With a little creativity, you can find plenty of pockets for adding festive joy to your space: the walls, halls, and everything in between!
This wall bow tree can be as large or small as you like: Either way, it makes a big style statement. And all you need is ribbon and Command™ Products to keep it looking sharp all season long. Command™ Hooks, Clips, and organizational products feature innovative damage-free adhesive strips that let you change decor with the season — or just your mood — without worrying about wall or paint damage. Here’s how we used them to create this fun spin on a holiday tree.
Supplies
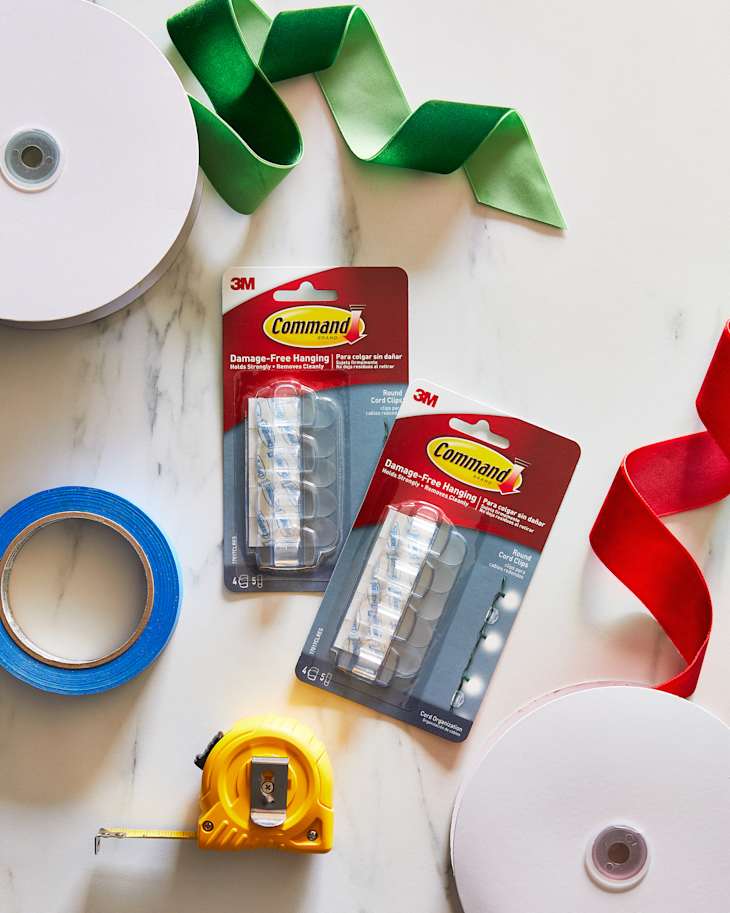
- Red velvet ribbon
- Green velvet ribbon
- Command™ Clear Round Cord Clips
- ScotchBlue™ Original Painter’s Tape
- Presents and other holiday decor (optional)
1. Make Your Bows
Start by cutting 20 36-inch lengths of green velvet ribbon for the tree. Cut one 42-inch length of red velvet ribbon for your tree topper. Tie each ribbon into a bow, making the tails as even and uniform in length as possible.

2. Outline Your Tree
Place a strip of ScotchBlue™ Original Painter’s Tape where you want the bottom of the tree to hit. (You’ll remove all tape at the end.) ScotchBlue™ Original Painter’s Tape comes off clean without marring your walls or leaving sticky residue, so it’s great for sketching out DIYs. Measure 32 inches up from the center of this point and mark that spot with another piece of tape. This will be the top of your tree.

3. Mount Your Bow Clips
Following all package instructions, mount a Command™ Clear Round Cord Clip just under the top piece of tape. This is where your red tree topper will go in Step 4. Command™ Clear Round Cord Clips are small but mighty, with innovative adhesive that holds strong and detaches easily. Plus, they’re clear, so they won’t distract from the final look of your project.
Begin adding the Command™ Clear Round Cord Clips that will eventually hang your green bows. Start by holding a green bow directly below your “tree topper” clip and adjusting its placement — a few inches down should be great. You’re going to repeat this spacing down the tree to create a full, but not overcrowded, effect. When you’re happy with the placement, mount a Light Clip where the green knot hits the wall, marking with ScotchBlue™ Original Painter’s Tape first if desired.
Using this vertical distance as a guide, begin mounting rows of Cord Clips, adding rows as you work your way down the wall. To create a full “tree” effect, stagger the placement of the clips from one row to the next: This will ensure that the bows in each row lie neatly amongst the tails of the row above.
You can be as freestyle or precise with this step as you like — measure and mark the clip locations if you prefer, or just eyeball it as you go!
4. Add Those Beautiful Bows!
Starting at the top, slip your bows onto the clips to secure them. Adjust the tails as needed so that they hang nicely together. When you get to the bottom, remove any remaining Painter’s Tape and admire your tree! You can also add additional decorative elements like wrapped presents for an extra festive effect.
