
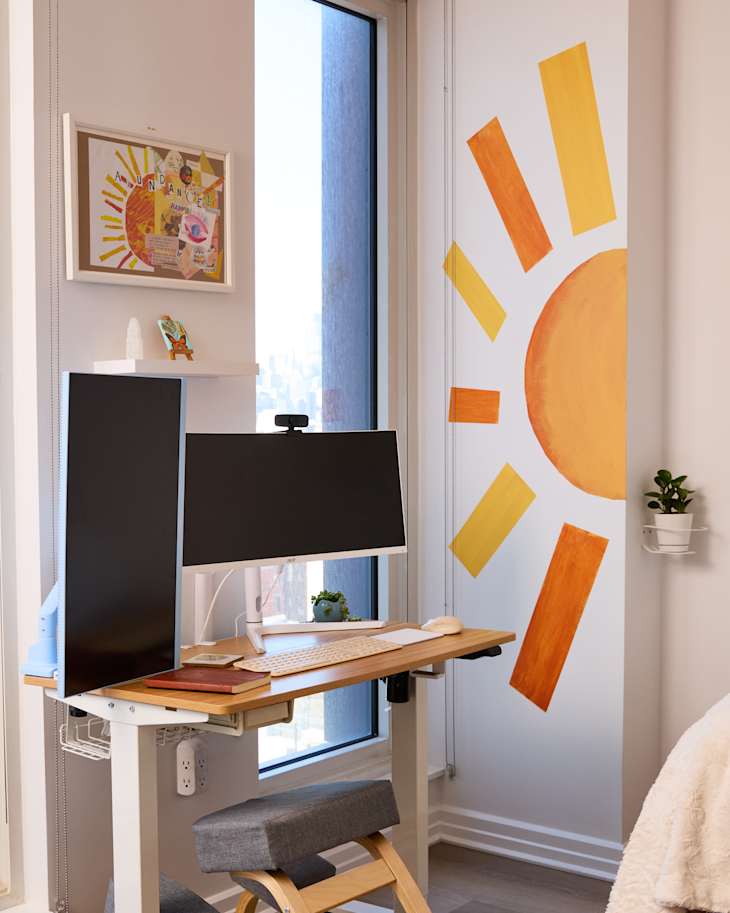
This Easy Mini Mural Added a Huge Dose of Cheer to an Empty Corner
If you’ve only considered paint as a way to change wall color, this is your sign to play! Inside a single paint can are endless possibilities for a more creative, more personalized, just plain happier home. A fun painting project, like a mural or accent design, is like large-scale coloring — and the result will make you smile every time you see it.

That feel-good energy was exactly what Jacey Adler wanted for the desk area in her open-plan apartment, and she had a bright idea for how to get it: a rising sun design in uplifting shades of yellow and orange. To make this mood-boosting mural look its best, Jacey used ScotchBlue™ PROSharp™ Painters Tape for extra crisp lines. Scotch® Brand is Scotch® Brand is the #1 trusted brand* of painter’s tape, and ScotchBlue™ PROSharp™ Painter’s Tape delivers the brand’s sharpest lines yet! Smooth and sliver-resistant (iykyk), it has a strong, pro-grade backing that protects against paint bleed. Here’s how to follow Jacey’s lead and make this mural shine.
Tools Needed
- 3M™ High Strength Small Hole Repair All-in-One
- 3M™ High Strength Hole Repair Color Changing Spackling Compound Repair Kit
- ScotchBlue™ PROSharp™ Painters Tape
- Paint
- Paint Brush
- Drop Cloth
- Pencil
- String
1. Prepare the Space
The better you prep, the better your project will go. Begin by clearing out the area and wiping down the wall. Once everything is clean, dry, and dust-free, put down a drop cloth to protect the floor.
Next, it’s time to fill, smooth, and sand any holes left behind by shelving or decor. The 3M™ High Strength Small Hole Repair All-in-One makes quick work of nicks and nail holes, with a built-in putty knife and sanding pad. For holes of up to three inches, the 3M™ High Strength Hole Repair Color Changing Spackling Compound Repair Kit has everything you need, including a hole patch and no-shrink compound that changes color as it dries.
2. Plan and Mark the Design
Determine how big you want your half-sun’s radius to be (Jacey’s is 18 inches) and where on the wall its center will be. Mark the center, and cut a piece of string the length of the radius. Then, create a compass to draw a neat semi-circle: Tape one end of the string to the center point and wrap the other end around a pencil. Keeping the string taut, draw a semicircle by moving the pencil along the arc. To create your sun rays, use a ruler to draw straight lines from the center point through your arc outline.
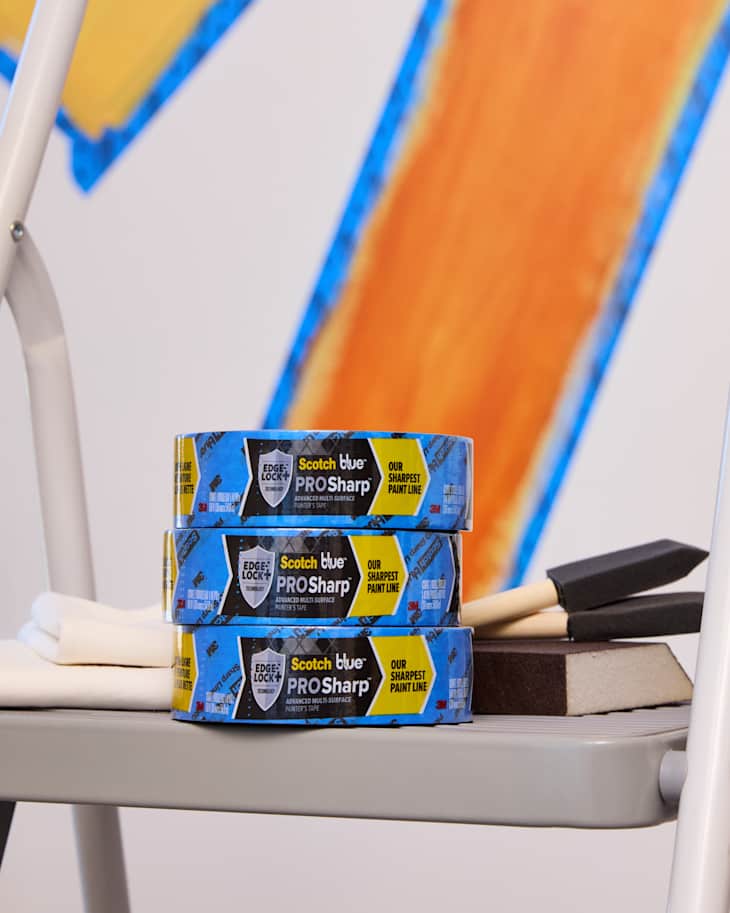
3. Prep the Design with ScotchBlue™ PROSharp™ Painter’s Tape
Taping with ScotchBlue™ PROSharp™ Painter’s Tape will ensure crisp, precise lines that elevate your design to pro status. For the curves of the sun, use 4–6 inch pieces of ScotchBlue™ PROSharp™ Painter’s Tape, slightly overlapping them as you go, to follow the design’s curve. For the sun rays, apply tape along both sides of each ray, creating a channel in the middle for painting.
Once your tape is applied, use the putty knife from your 3M™ High Strength Hole Repair Color Changing Spackling Compound Repair Kit to press down all the tape edges, creating a firm seal. Because ScotchBlue™ PROSharp™ Painter’s Tape has a strong multi-layered backing with 2x better hold than tape used with original Edge-Lock™ Technology, you won’t have to worry about paint bleed.
A tip pro painters use to ensure a sharp line is to “overpaint” the border. This involves applying a thin coat of your base color (Jacey used the white of her walls) over the inner seam of the tape. Let it dry completely before painting over it with the paint for your design. While this step will be optional for many walls, it can be useful on surfaces with uneven textures.

4. Paint the Sun and Rays
It’s time to paint! Have fun with your color choices. Jacey used a combination of yellow and orange, occasionally layering the colors for depth. She wanted the brushstrokes to be visible in the final product to give the paint some texture while still having a polished, professional look which she accomplished with the crisp borders made possible by the ScotchBlue™ PROSharp™ Painter’s Tape.
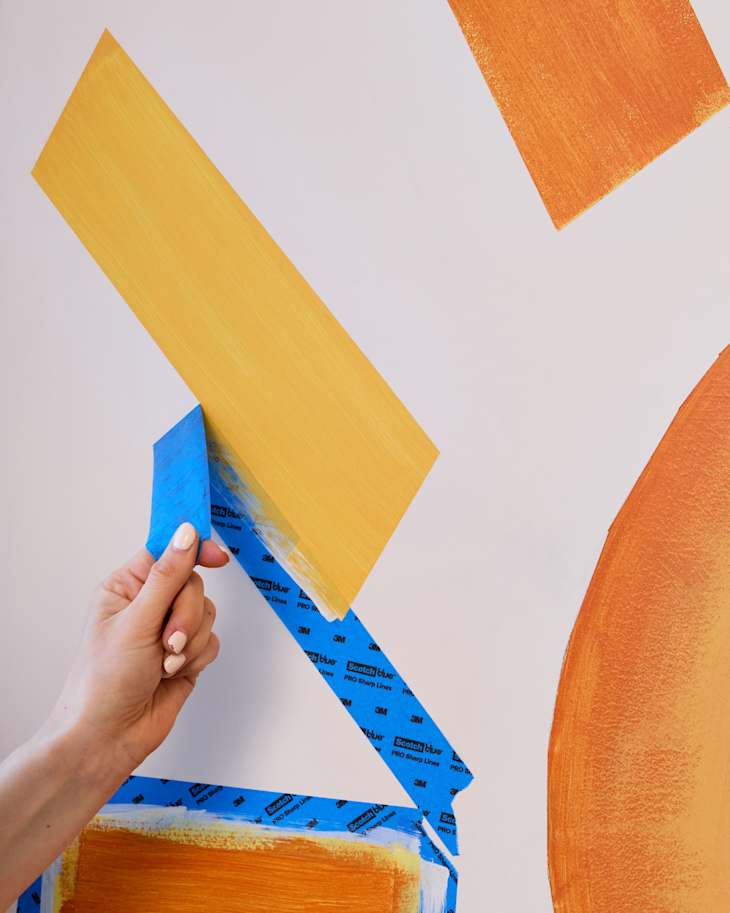
5. Remove the Tape
The moment of truth! Make sure the paint is dry to the touch. Then, using a putty knife or razor blade, you can score along the edge of the tape to prevent paint from being pulled up. Be patient here! Slowly and gently lift the painter’s tape and pull it back on itself, removing at a 45-degree angle. If you need to leave the tape longer, ScotchBlue™ PROSharp™ Painter’s Tape has a 21-Day Clean Removal guarantee, meaning you can leave it up to three weeks to remove it thanks to its UV-resistant acrylic adhesive.
Now take a moment to stand back and admire that crisp, clean line and your sparkling clean baseboards!
*ScotchBlue™ and Scotch® brands are ranked as the most trusted based on the October 2023 Methodify Global Claims Study.