
The Only Paintbrush You’ll Ever Need, According to a Pro with 10-Plus Years of Experience
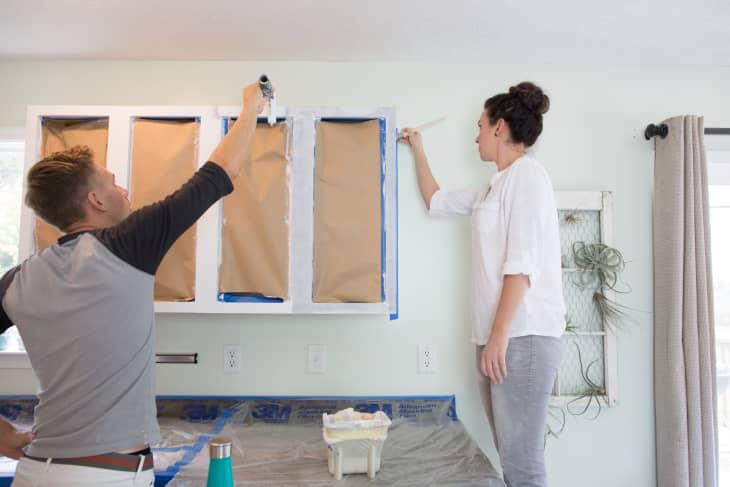
Paint is one of the cheapest ways to achieve a total transformation of an entire room (or just a small piece of furniture). But if you’re not a seasoned painter, getting started painting a wall can feel overwhelming — especially when you hit the hardware store and find just how many different types of brushes there are.
This is a moment to turn to the pros, and fortunately, Drew Michael Scott of Lone Fox has been painting walls for a little over a decade as part of his booming DIY-meets-design business. “It all started with a black accent wall in my bedroom inside my first apartment to be exact,” he says. “That little project sparked a passion that’s only grown since.”

Whether he’s painting a wall or a piece of furniture, Scott applies the same careful approach — so when it comes to tools that support his picture-perfect results, it’s no wonder that he has thoughts on the best paintbrush. His vote for a professional finish? Valspar’s Wall and Trim Brush. Read on to learn more about why Scott considers this paintbrush to be a necessity for all your DIYs.
Why This Pro Loves the Valspar Wall and Trim Brush
While Scott routinely uses brushes that can handle large projects, the reason why he recommends this smaller alternative is because of the control it provides as he paints. “I love the rubber top so it doesn’t hurt my hands, and I also love how it’s a shorter brush,” he says.

The angled top of this brush makes it easier to “cut in” to walls and moldings with a clean edge, and it allows paint to glide on for a smooth and even finish. While you might need a roller brush to accompany this pick, the duo will make sure that your results are what you envisioned.
A Pro-Approved Trick for Your Painting Project
Besides painting walls, Scott also uses this brush to apply fresh colors and stains to furnishings. One of the downsides of having multiple projects going at once is the amount of cleanup it takes to keep the brush clean — particularly if a task is taking longer than anticipated. Even the professionals run into obstacles!
To make sure that his brush doesn’t get ruined, Scott has this suggestion to keep in mind. “One of my go-to tricks is wrapping the brush in plastic wrap or sealing it in a plastic bag, then storing it in the fridge between uses,” he says. “It keeps the paint from drying out and your brush ready to go for days or even weeks, depending on your project. It’s a huge time-saver!” That’s the fun of asking the pros for advice: They always know the best products and tips.