
The Nostalgic Twist on Wallpaper That DIYers Are Loving Right Now (and How to Get It Right!)
Finding a way to give your space personality on a budget can be a challenge — especially if you prefer something with a bit more punch than paint. Wallpaper can be a great look, but there’s no denying it can be pricey to purchase, and it’s not exactly a beginner-friendly DIY to take on yourself (although peel-and-stick wallpaper is much easier!). The good news? There’s a more approachable, blast-from-the-past solution you may want to try instead: wallpaper borders.
“Wallpaper borders are making a comeback because they offer a simple yet effective way to add color and pattern to a room without the commitment of covering your entire wall,” says Charlotte Coleman, an interior decorator and stylist. “This makes them an appealing option for those who want a refresh with minimal effort and cost.”
What are wallpaper borders?
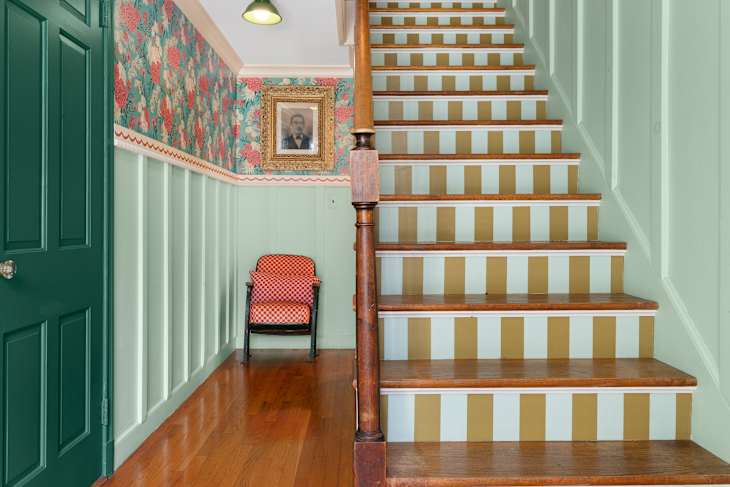
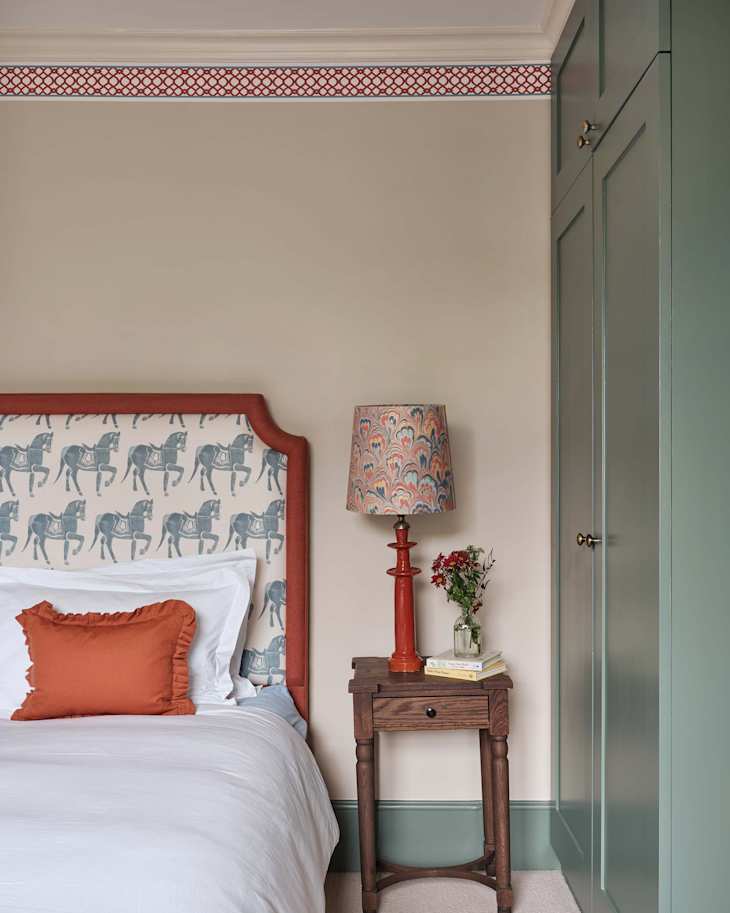
If you’re unfamiliar with wallpaper borders, you can think of them as the little sister to wallpaper that’s applied mostly around the border of a room or doorway. While this trend might have first seen the spotlight in the ’80s and ’90s, these days Coleman says they’re being used in a much more modern way. “Instead of going around the middle of the room, wallpaper borders can highlight architectural details, frame wall art, or create visual interest in otherwise plain spaces.”
Adam Knight, director at Nefarious Design, also appreciates the versatility of wallpaper borders. “I like how they can create separation in open-concept layouts,” he says. To make sure that wallpaper borders continue to meet the moment, there are a few tricks to keep in mind. Below, Coleman and Knight share three DIY tips that’ll help this easy upgrade become a throwback win.
How to Add Wallpaper Borders to Your Home
Keep It Fresh
While you’re welcome to use any pattern you please (and put it anywhere you wish), Coleman does have advice for keeping your design within this decade. “Think about the placement of the border,” she says. “For example, if you place it at the top of the wall, it could make the ceilings feel higher. But don’t overuse a border. If you put it along the ceiling, you don’t need to put it around the door as well.” While they may have been all the rage back when hair was huge and acid wash was cool, maybe stay away from themed borders, Coleman adds. “These feel a little dated.”
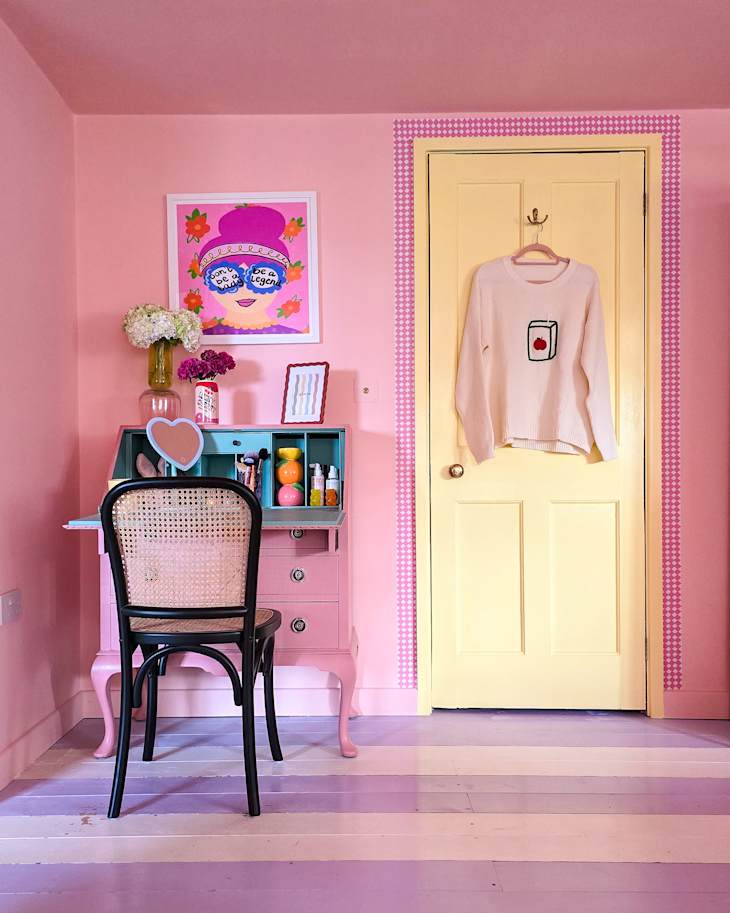
For a modern look, streamline shades and patterns into the same palette as the rest of the room. You want your wallpaper border to be part of the whole picture, not a complete attention-grabber. Oh, and one more thing: “Using a border that’s too wide in a small room can make it feel cramped,” Coleman says. “Make sure you pick an appropriate width for the space.”
Do the Prep Work
Just like any other design project, you’ll want to complete all the necessary prep work to ensure that the finished space looks intentional, not sloppy. Coleman and Knight agree that you’ll want to prepare your walls before application by cleaning the surfaces and double-checking that they’re dry and smooth — remember, most wallpaper won’t stick properly to a textured surface.
Aside from reading the instructions and having your installation tools ready, Knight suggests using a level for the most precise finish (a laser level will be easiest!). By prepping correctly, you’ll make the job much less stressful to complete.
Go Slow and Steady
As you get started, Coleman recommends measuring the area where the border will go and marking a guideline using a level to ensure that it’s straight. “Pre-cut your wallpaper border into manageable lengths, allowing a little extra for trimming at corners or edges,” she says. As you press the border onto the wall, align it to your guidelines, then use a wallpaper brush or sponge to smooth out air bubbles as you go,” she says. “As a finishing touch, run a seam roller along the edges to ensure they’re adhered securely,” Coleman notes. “This will help prevent peeling over time.”
Once you’re finished with the installation, give it time to set. “Let the border dry for at least 24 hours before touching or decorating around it to ensure it adheres properly,” Knight adds. After that, your space will have an old-meets-new style that feels totally fresh.