
I Just Found the Most Stylish Trick for My Framed Art — And It Was So Easy
I’m big on saving design DIYs from Instagram, but my “saved it” to “tried it” ratio is generally low. One recent exception is the frame mat hack that you’ve almost certainly seen all over Instagram and TikTok. Whether they’re using wallpaper or wrapping paper, everybody seems to be creating their own custom-look frames by repurposing existing frames that are hanging around the house.

As I watched more and more videos follow this same general DIY method, I decided I could absolutely try this myself with minimal effort and time. Plus, I had all the pieces I needed on hand (as well as an overabundance of unused frames). I put the hack to the test (with my own spin!) — here’s what happened.
DIY Frame Hack with Wallpaper
My first attempt at this hack was with a leftover piece of fabric that I had from a non-DIY pillow reupholstery project. It went … okay. The fabric was a little unwieldy to work with, and didn’t wrap in perfectly neat corners around the existing mat, and felt bumpy. Overall, I wouldn’t recommend trying with fabric.
What worked better was using wallpaper for a more by-the-book hack. I’m an enthusiastic wallpaper-er, so I have lots of wallpaper scraps on hand (you never know when you might need to patch a spot — in fact, I had to have a large spot patched just last week!).
Of course, most of this wallpaper isn’t actually going to save the day due to unexpected wall damage, so it just sits unused in a closet. That is, until a DIY frame mat project comes up.
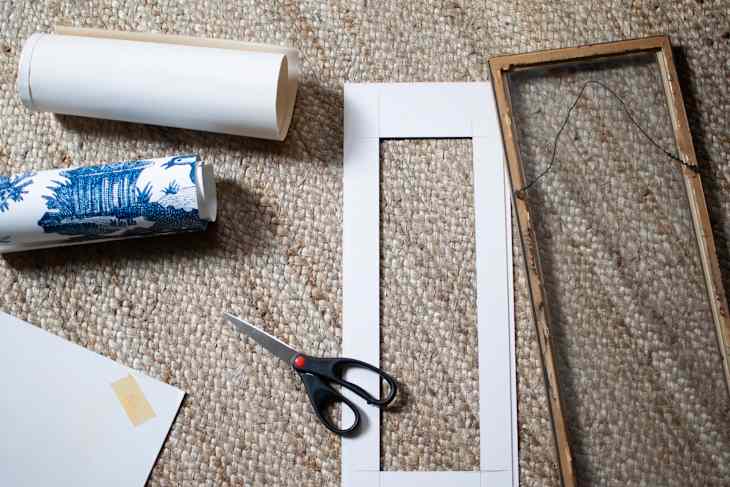
I’ve had one of my favorite vintage gold bamboo frames sitting in storage ever since I moved into a place with less wall space. I never loved the mat, but, with a quick black and white painting framed inside, it was fine in my old condo. In my current home, however, it felt out of place.
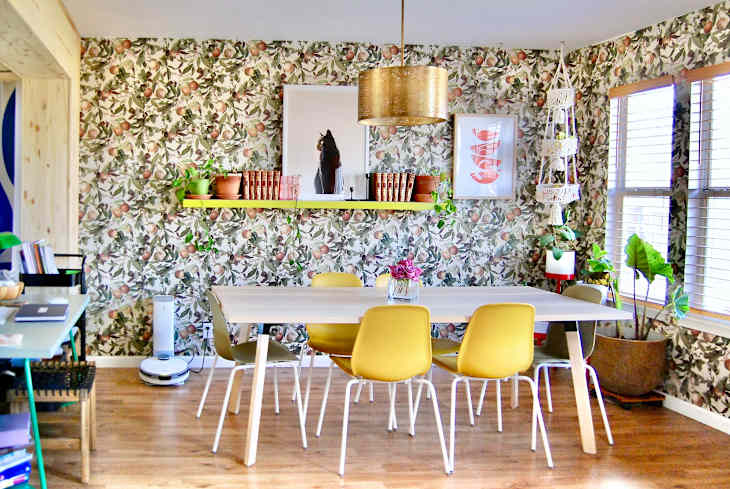
I decided to spruce it up with the wallpaper from my bedroom, frame an old sketch that my grandfather did decades ago in a figure drawing class, and hang it in my bedroom where it would have a wallpaper-on-wallpaper look. That was my major innovation here: using wallpaper for the mat against matching wallpaper on the wall behind it, and it’s something I totally recommend.
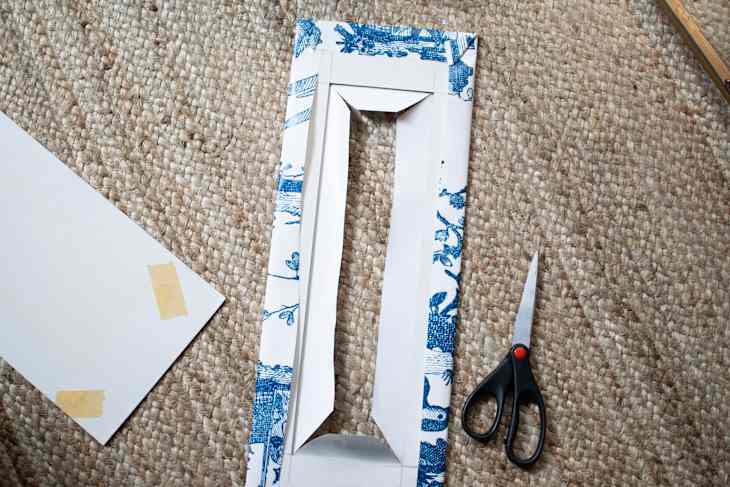
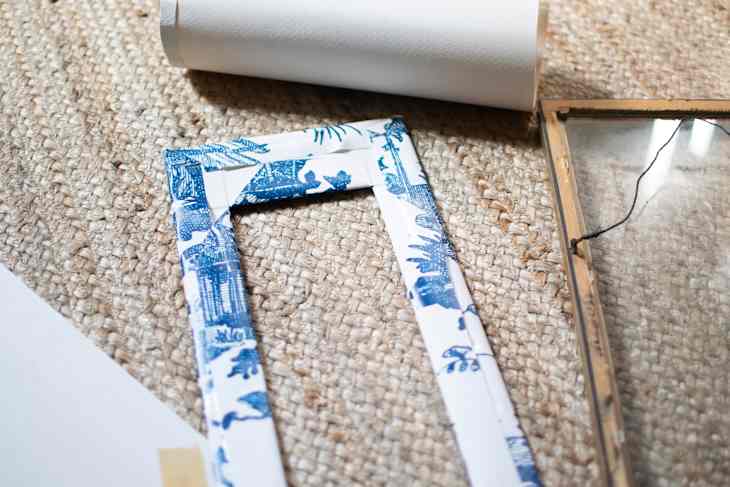
Trying this hack with wallpaper or wrapping paper is so easy — particularly if you’re someone who is skilled at wrapping a present. I wrapped the frame mat easily with the paper, then carefully cut an ‘X’ in the middle of the mat so I could fold each side under. I taped it all down, although you could also glue it if you prefer (I was going for efficiency and the ability to change it later).

In less than ten minutes, my mat was covered and fit perfectly back into the frame. I trimmed the sketch to fit the frame, and voilà! That’s it. Easiest DIY ever. And against a wall covered in matching paper, it looks so sophisticated — I definitely recommend doing this to any art you intend to hang on wallpapered walls, because the vibe is so chic.
In some of the iterations I’ve seen, they don’t even both to wrap a mat — they just tape a print, painting, or photo on top of a piece of wrapping paper or wallpaper and call it a day. In any case, this shouldn’t take you more than a few minutes, and you’ll have a fun, whimsical custom frame look with little effort and supplies you already had around the house.