
This $500 First-Time DIY Project Took My Kitchen to the Finish Line
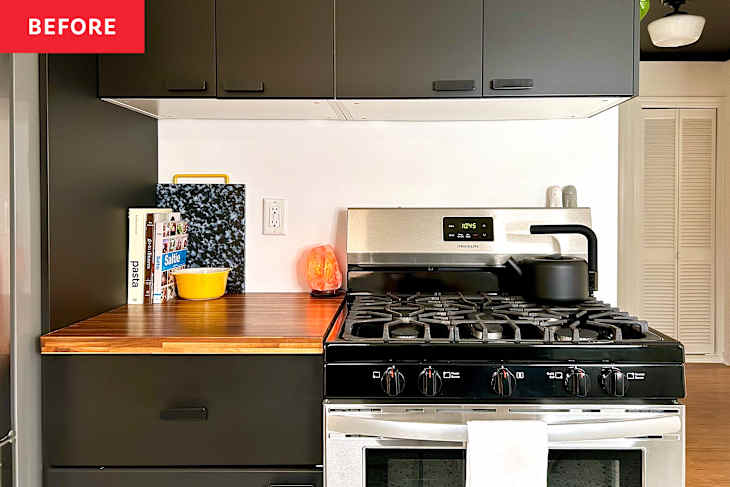
Back in 2020, just months after my partner, Ben, and I bought our first house together, we gutted our outdated kitchen. We took a couple of walls down to the studs to remove a faux brick facade, replaced every cabinet and appliance, and … completely blew our budget. So I skipped the backsplash and just painted the new drywall, figuring I’d get to it eventually.
Fast forward five years, and “eventually” has arrived. I was excited, but also a little nervous to take this backsplash tiling project on. I’d never done any tile work before. I had been eyeing Fireclay Tile for a while, but because I wanted to keep this project budget-friendly I found an option with a similar vibe at Floor & Decor more in my price range.

Originally I planned to tile the entire sink wall and go just under the upper cabinets on the stove side. But, as with most DIY projects, there were surprises along the way — more on that later.


Measuring was crucial.
I measured the square footage of the surface I wanted to cover in the kitchen, and I bought about 10% more tile than I’d need to accommodate for mistakes.
Because I was tiling beyond the countertop (to the left of my kitchen sink and all the way to the baseboards), I marked a level line on the wall at my kitchen’s countertop height and screwed in a scrap piece of 1×2 wood for the tile to rest on to help keep my first row of tiles level. I measured all the outlets, windows, and tricky corners before cutting my tile. There was lots of math and lots of cuts. But I got it done. I rented a wet saw for a couple of days — and I’d highly recommend this because it was way cheaper than buying one — and it did the trick.

Working with mortar and grout was the easy part.
To affix my tile to the wall, I mixed my mortar to a peanut butter consistency and applied a thin layer to the wall with a trowel (you can check your tile box for guidance on what size trowel you should buy). I used 1/8” tile spacers and a grout float to press the tiles into the mortar, making sure to keep them level. A key step was cleaning out any mortar from the grout lines with a flathead screwdriver before it dried to avoid bumpy grout.
Once the mortar dried, it was time to grout. I went with an eggshell white, unsanded option to keep the focus off the walls (because our floor is a busy terrazzo). I applied it at a 45-degree angle in small sections, wiped with a damp sponge, then buffed off any remaining haze with a dry terrycloth rag.
After 24 hours I sealed the grout by applying sealer with a small foam brush, working in sections and wiping up drips immediately. After giving that a few days to cure, I taped off and caulked the edges with a silicone kitchen caulk. (You can see my full process here.)
Caulking edges really pulled everything together. One thing no one tells you about working with mortar and grout? How insanely dry your hands get. The alkaline in there is no joke.


My crooked wall created a challenge.
The biggest setback I ran into with my tiling project is that the wall isn’t straight (our house is old), and as I tiled upward a small gap started forming on one side. It became too narrow to fit a sliver of tile, but too wide to cleanly caulk, so I changed course and stopped a bit lower than intended — just below the top of my window. I wanted a clean finish, so I added a trim piece at the top of the last row.
In retrospect, I can honestly say the as-is tile height worked out better. It gave the backsplash a more contemporary feel. We’d been debating about the height anyway, so the crooked wall made the decision for us.
Now, our kitchen finally feels finished. I gotta say, this project intimidated me a bit, but I’m so glad I finally went for it. It made a huge difference, and with my newfound confidence I’m already thinking about the next tile project I can take on. If you’re considering tiling your own backsplash, I’d say go for it — but be ready to roll with the punches. Sometimes they lead to better results anyway.
Inspired? Submit your own project here.