
Don’t Skip This Overlooked Chore Before Fall Ends — It Could Cost You Thousands
As a master gardener, I’m fussy about my watering tools. I’ve invested in quality hoses, spray wands, and sprinklers, and I do my best to maintain them so they’ll last for years. But I confess, there have been times I forgot to winterize my watering gear.
Winterizing your outdoor hose and spigot doesn’t seem like that big of a deal, but it can cost you big: I’ve heard stories of burst pipes going unnoticed until spring after months of water seeping into basement walls and crawl spaces, leading to thousands of dollars in repairs and major mold remediation.
A few years ago, the first hard freeze caught me off guard and I came a little too close to that outcome for comfort. I live in East Tennessee, where fall temperatures can drop from 70 to 30 degrees in just a few hours, and I hadn’t yet stored the garden hoses or winterized the outdoor spigots (which aren’t frost-proof).
Luckily, my husband noticed ice buildup around the hose bib the next morning. Thinking quickly, he grabbed a heating pad, plugged it into an extension cord, and wrapped it around the hose and spigot. After several minutes, he was able to thaw it enough to remove the hose and prevent any damage. Crisis averted.
My husband’s quick action likely saved us a ton of money by preventing the spigot from fully freezing and causing damage to our plumbing. After that scare, we’ve never forgotten to winterize the outdoor plumbing as soon as the temperature starts to dip near freezing. Here’s how we do it.
How to Winterize Outdoor Spigots
- First, disconnect spray wands and sprinklers from the hose and let any water drain out.
- Remove the hose from the spigot and allow any remaining water to run out.
- Shut off the indoor valve that supplies water to the spigot.
- Open the outdoor faucet to drain it completely; leave it open for a bit to ensure all the water is gone.
- Once drained, close the spigot and cover it with an insulated faucet cover.

Faucet covers are cheap, coming in at about $10 to $16 for a two-pack. Most are made of insulated foam or waterproof nylon.

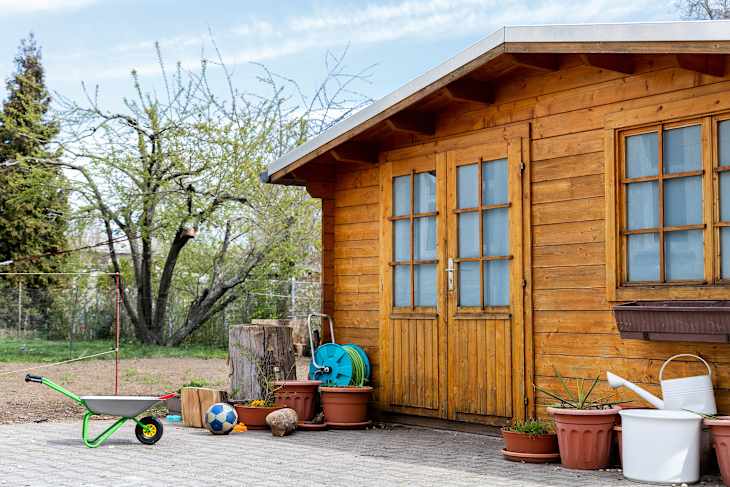
Store hoses, sprinklers, and spray wands inside a garage or shed, otherwise they’ll be subject to damage. I left my favorite spray wand outside one winter; it didn’t rust, but ever since then, the handle often sticks. Rubber gaskets and plastic parts on watering accessories can also corrode and break if left out all winter.
How to Tell if You Have a Frost-Proof Faucet
If your home has a frost-proof faucet, you don’t need to fully winterize it — but you still need to detach hoses. Not sure if your faucet is frost-proof? A frost-proof faucet extends straight back into the wall with an elongated stem that’s probably angled slightly downward.
Here’s what makes them frost-proof: The inner shut-off valve is located several inches behind the handle, so it’s inside the wall of your home. When the faucet is turned off, the remaining water inside the pipe (behind the valve) is inside, not outside.
On a non-frost-proof spigot, the inner shut-off valve is located outside, directly behind the handle, meaning water left in the pipe is exposed to freezing temperatures. If your home is older (pre-1960s) with shorter, curved spigots, they are likely not frost-proof, so you’d best not forget to winterize! In a matter of minutes, you could prevent untold damage to your home.